A crowded pantry can make everyday cooking feel harder than it needs to be. Bags get pushed to the back, similar ingredients blend together, and opened packages are easy to forget. A simple pantry labeling system helps you see what you have, return items to the right place, and make better use of shelves and containers. You can set one up in an afternoon with a few broad categories, readable labels, and a routine that fits how your household cooks.
Custom pantry labels are most useful when they solve a real problem. Start with the foods you reach for often, choose storage containers that suit your shelves, and label each container with a clear name. Add details such as a purchase or opened date only when they help you manage rotation. Labels support organization; they do not make food safe or determine how long it can be stored.
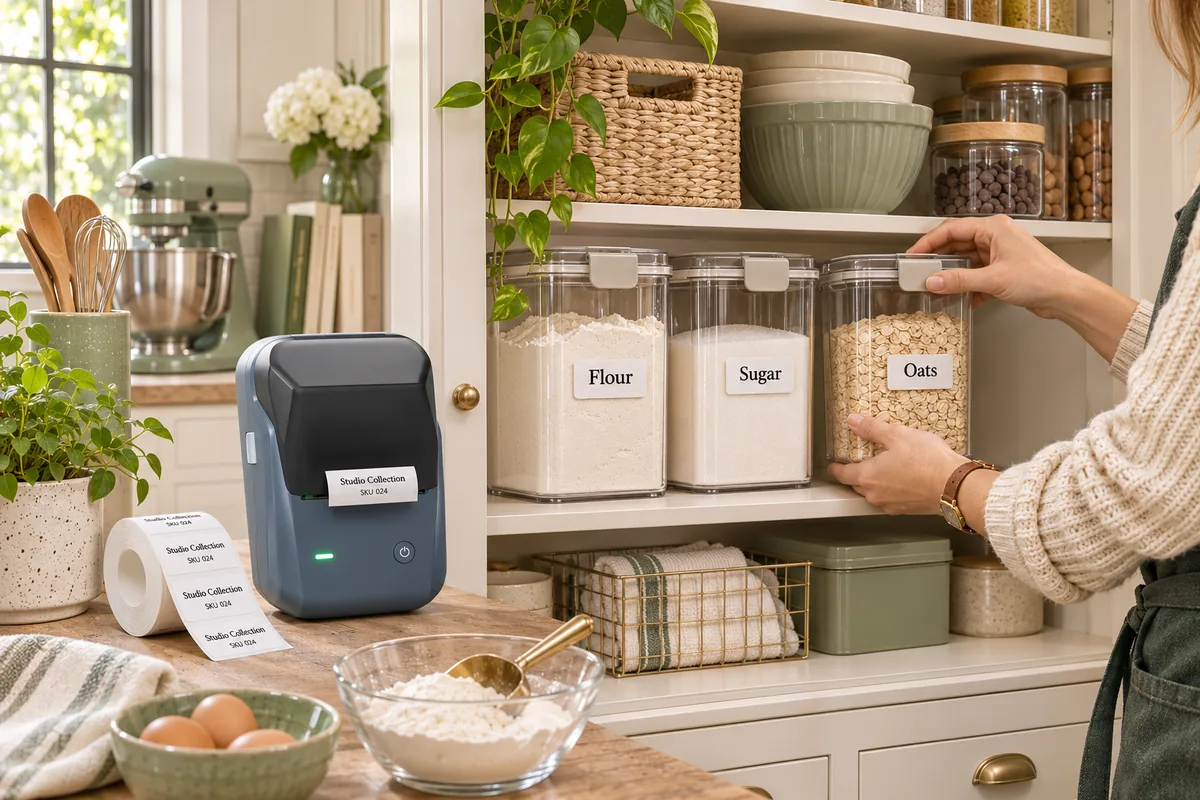 A clear pantry layout makes everyday ingredients easier to find.
Take a quick pantry inventory
Before buying containers or designing labels, look at what is already in your pantry. Take everything off one shelf at a time and group similar items together: grains, baking ingredients, breakfast foods, snacks, canned goods, oils, and spices. This shows which categories deserve the easiest access and which products are stored in duplicate.
Check package condition and the storage directions on the original packaging. If you are unsure how long an item keeps or how it should be stored, consult the manufacturer or an authoritative food storage resource. The FDA notes that packaged food date phrases can have different meanings, and many dates communicate quality rather than a universal safety deadline. Its [consumer guide to food date labels and safe storage](https://www.fda.gov/food/consumers/how-cut-food-waste-and-maintain-food-safety) explains the distinction.
Use the inventory to decide what belongs in the pantry and what needs another location. Keep a small note of items that are frequently hard to find, repeatedly bought twice, or left unused. Those are the best candidates for a label or a more visible spot. There is no need to decant every product; unopened packages can remain in their original packaging if that is more practical for your household.
Create practical pantry zones
Arrange the pantry around routines rather than trying to make every shelf look identical. A breakfast zone might group oats, cereal, coffee, and tea. A baking zone can keep flour, sugar, baking powder, and chocolate chips together. Snacks can sit where family members can reach them, while less frequently used ingredients can go higher or farther back.
Give each category a defined boundary. A basket can hold packets and small bags; a shelf section can hold cooking staples; a turntable can make bottles easier to reach. The label on a container identifies its contents, while a shelf or bin label can identify the broader zone. Using both types can help everyone put things back correctly without adding a label to every single package.
Make placement match frequency
Keep frequently used ingredients at eye or hand level and occasional ingredients in less prominent areas. Store heavier containers where they are easy to lift safely. If children use the pantry, reserve an accessible shelf for suitable snacks. Keep products that require special storage conditions in the location indicated on their packaging, even if a different spot would look tidier.
Leave a little space around categories. Shelves that are packed to the edge are difficult to scan, and a label cannot help if its container is hidden behind several others. A modest amount of open space makes it easier to see when a category is running low and gives new groceries a place to go.
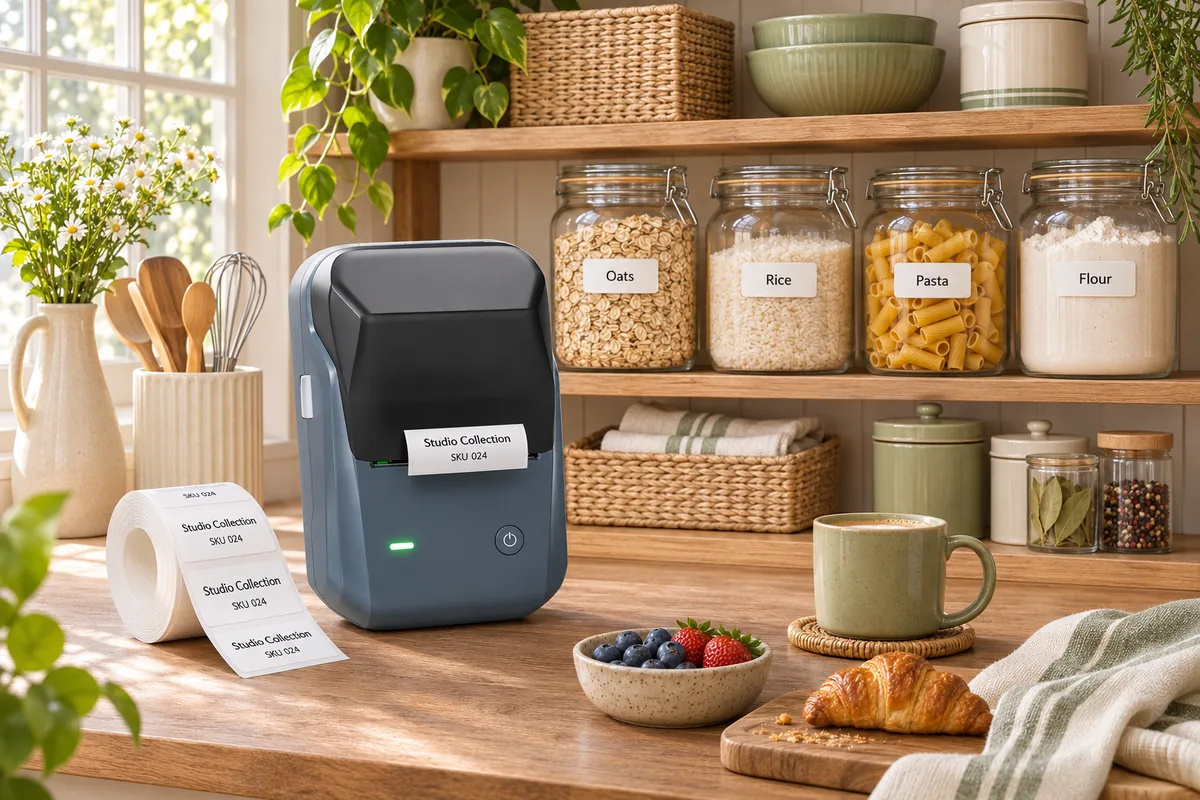
Grouping pantry staples by how you use them keeps shelves easier to navigate.
Choose containers before labels
Container choice affects what kind of label will work. Measure shelf depth and height, then consider the shape of the food and how often you use it. Clear containers can make contents visible, while opaque bins may be useful for packets or products you prefer to keep out of direct light. Use food-safe storage containers appropriate for the foods and conditions involved, and follow product instructions for cleaning and use.
Think about access as well as appearance. A wide opening may be convenient for scooping; a pourable container may suit cereal or grains. A stackable shape can save shelf space, but it should still be easy to remove and refill. Avoid choosing a container so large that it becomes awkward to lift once filled. If a food is better kept in its original package, a labeled bin can organize the package without transferring the food.
Design labels that are easy to read
A pantry label should be understood quickly from where the container sits. Use familiar names such as “Rolled Oats,” “Brown Sugar,” or “Pasta,” rather than a decorative phrase that makes the contents harder to identify. A clear typeface, strong contrast, and a consistent position help the pantry feel orderly without making every container identical.
Keep the design simple. Choose one main text style and, if useful, a second style for smaller details. Use a size that remains legible at normal viewing distance. Leave padding around the words so text does not run into the edge or disappear around a curve. If you use an accent color, reserve it for category cues and make sure the text remains readable in grayscale and varied lighting.
- Use the food name first: make the main contents the largest text.
- Add a qualifier only if it helps: “Almond Flour” is clearer than a generic “Flour” when you store several kinds.
- Keep placement consistent: a repeated position makes containers easier to scan.
- Use category colors sparingly: one subtle cue can help distinguish baking from snacks, but color should not be the only identifier.
- Test the label on the container: inspect readability on a shelf and from more than one angle.
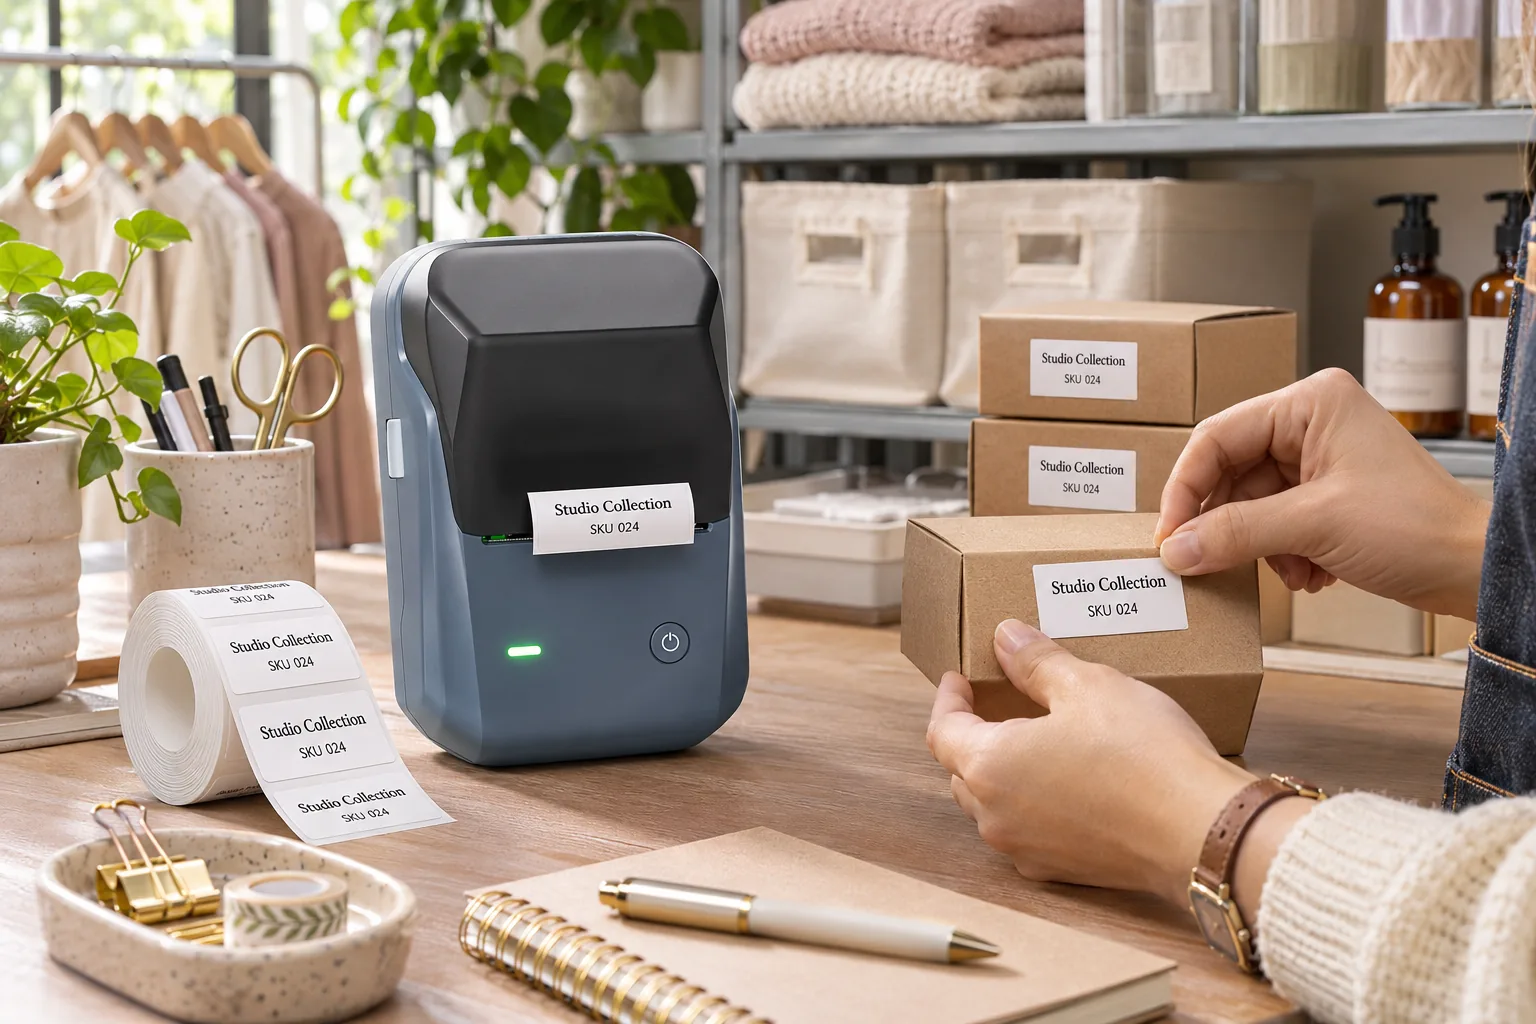
A compact label printer such as the NIIMBOT B1 can be considered for people who want to print names and category labels at home. Check the product page for current supported label materials, sizing, and device details before purchasing. The label format should fit the container and your needs.
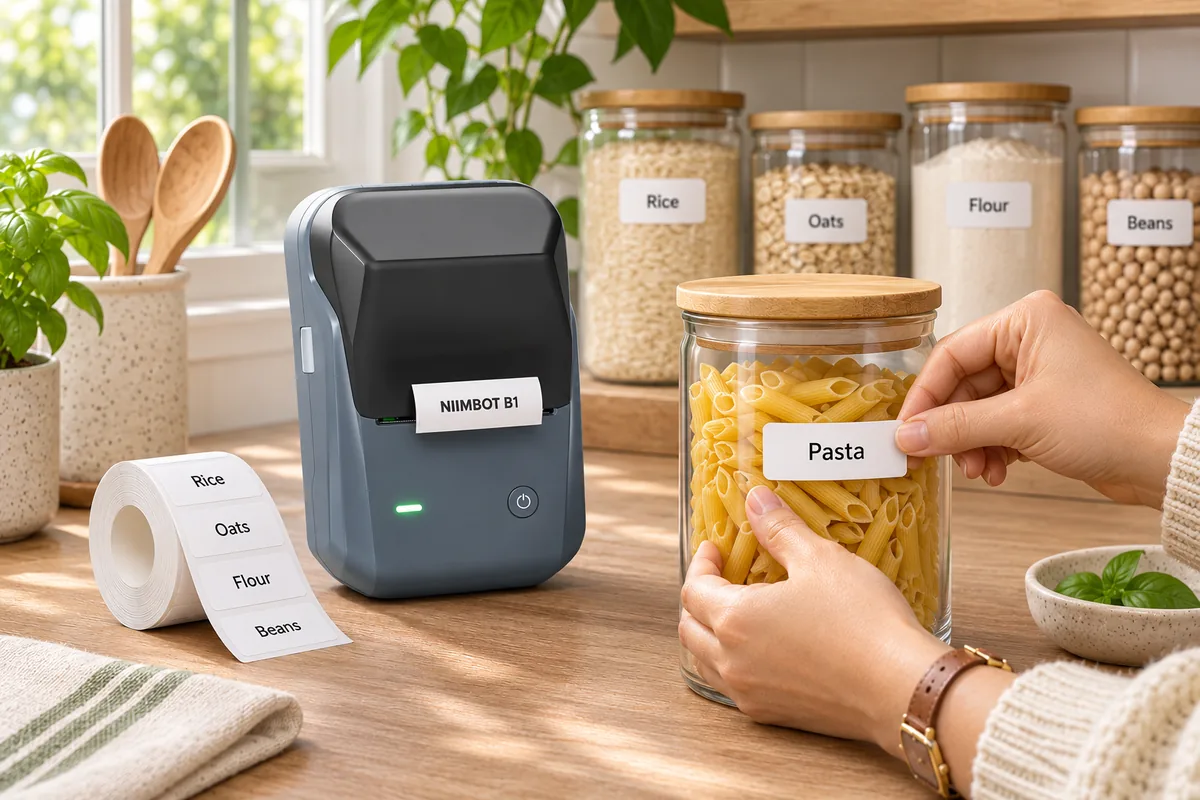
Test label placement on the container before printing labels for every jar.
Use dates thoughtfully
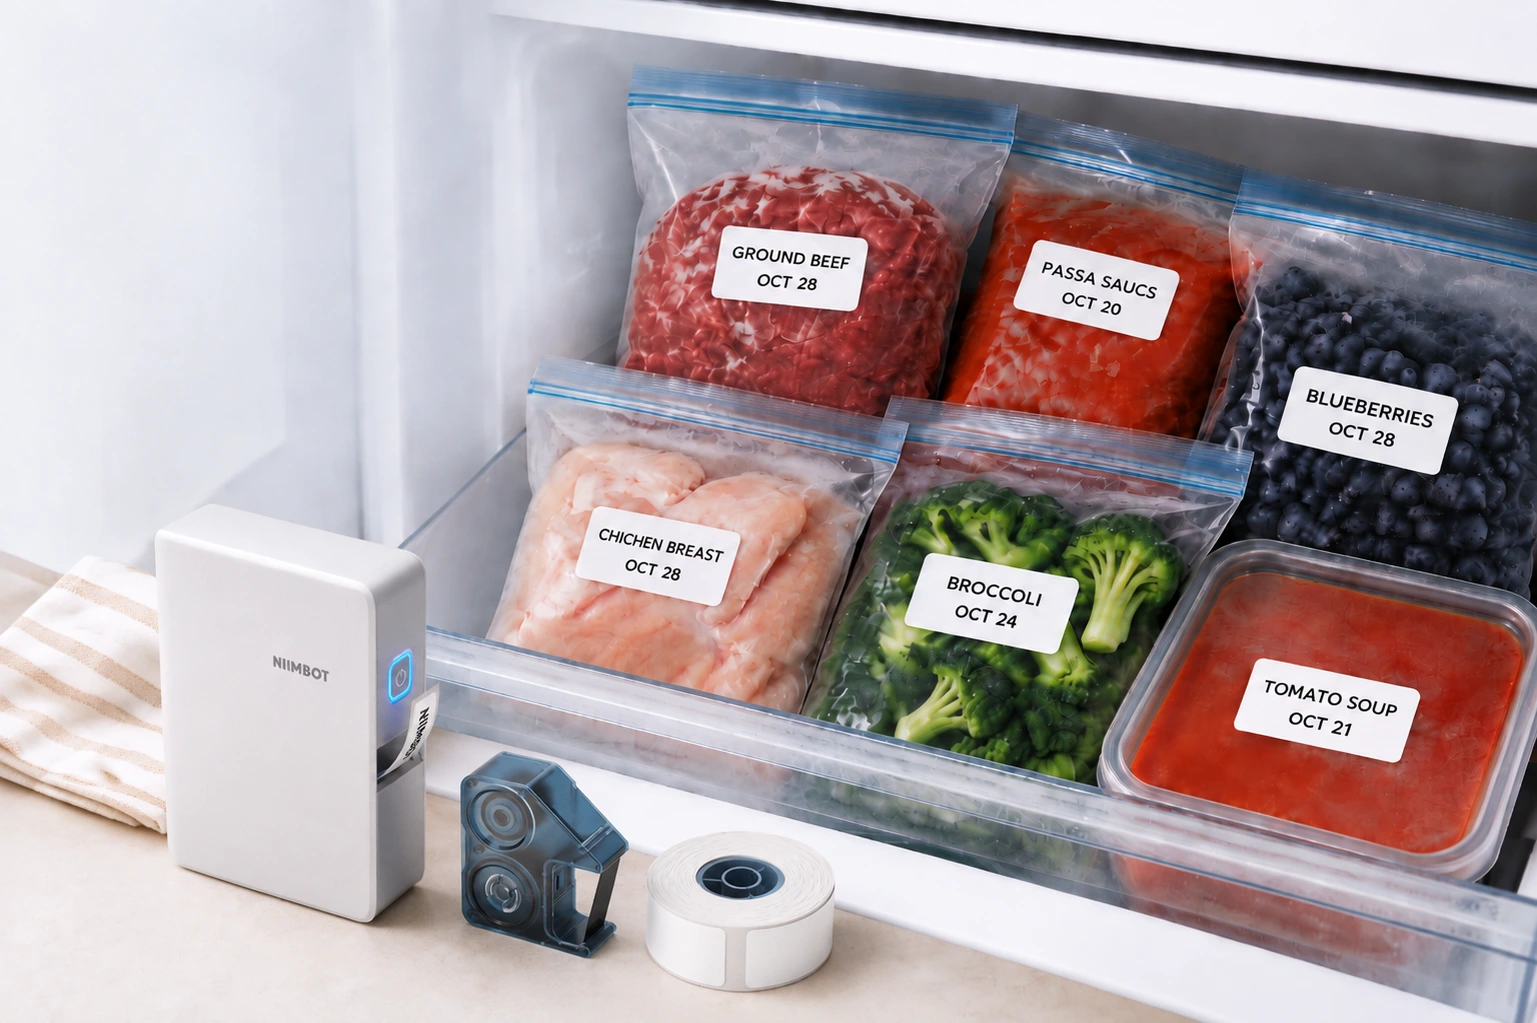
Some households like to note when a package was opened or when an item was transferred to a container. This can help with rotation, especially when several similar products are in use. If you add a date, state what it means—such as “Opened” or “Transferred”—instead of leaving an ambiguous number that could be mistaken for a use-by date.
Do not create a homemade date that implies the food is safe until a particular day. A label printer cannot assess freshness, storage conditions, or food safety. Follow the package directions and consult reliable guidance for storage questions. The FDA explains that date-label terminology is not uniform in the United States and that many package dates relate to quality; see its [food date labeling guidance](https://www.fda.gov/food/consumers/how-cut-food-waste-and-maintain-food-safety).
When transferring a product, keep useful information from the original package available. This can include ingredients, allergen information, preparation instructions, or a lot code. You might keep the original package inside a larger bin, or store the details in a household system that everyone can access. Do not let a decorative container remove information someone may need.
Build a simple reset routine
Organization lasts when the system is easy to maintain. After grocery shopping, group new items with their categories and place them behind older items when that makes sense for the product. Keep a short list of staples that are running low. When a container is nearly empty, refill it or return the remaining package to its proper zone.
- Choose one shelf or category to reset.
- Group items and check the original storage instructions.
- Return products to their designated zones.
- Replace or update labels only when the contents or purpose changes.
- Note staples to add to the next shopping list.
Make the pantry work for your home
A well-organized pantry does not require matching jars or a label on every package. Begin with a quick inventory, create zones around the way you cook, and choose containers that fit your shelves and habits. Then add clear, readable labels where they solve a real problem. A modest system that is easy to reset will serve you better than an elaborate setup no one wants to maintain.
If you want to print your own pantry labels, explore the NIIMBOT B1 label printer and review its current product details to see whether it suits your labeling plans.
Explore NIIMBOT B1 and create labels for the containers and categories you use every day.
Shop the NIIMBOT B1 →Frequently asked questions
What should I write on pantry labels?
Use the common name of the food, with a useful qualifier when needed, such as “Quick Oats” or “Whole Wheat Flour.” Add dates or instructions only when they have a clear purpose and do not replace information on the original package.
Do all pantry items need to be transferred into containers?
No. Keep products in their original packaging when that is practical. A basket or shelf label can group packages without transferring the food or losing useful package information.
Should pantry labels include expiration dates?
Only add dates when they support a clear household routine, and identify what the date represents. Package date phrases vary, and a date printed at home does not establish food safety or extend shelf life.
How can I label containers with different shapes?
Use a label size that fits the available flat area, leave room around the edges, and test placement before printing a batch. For curved containers, keep the text compact and position it where it is easy to see.
Can a label printer help organize a kitchen pantry?
A label printer can make it convenient to create consistent names and category labels. Choose a model and label format that match your intended use, and confirm product details on the manufacturer’s current product page.