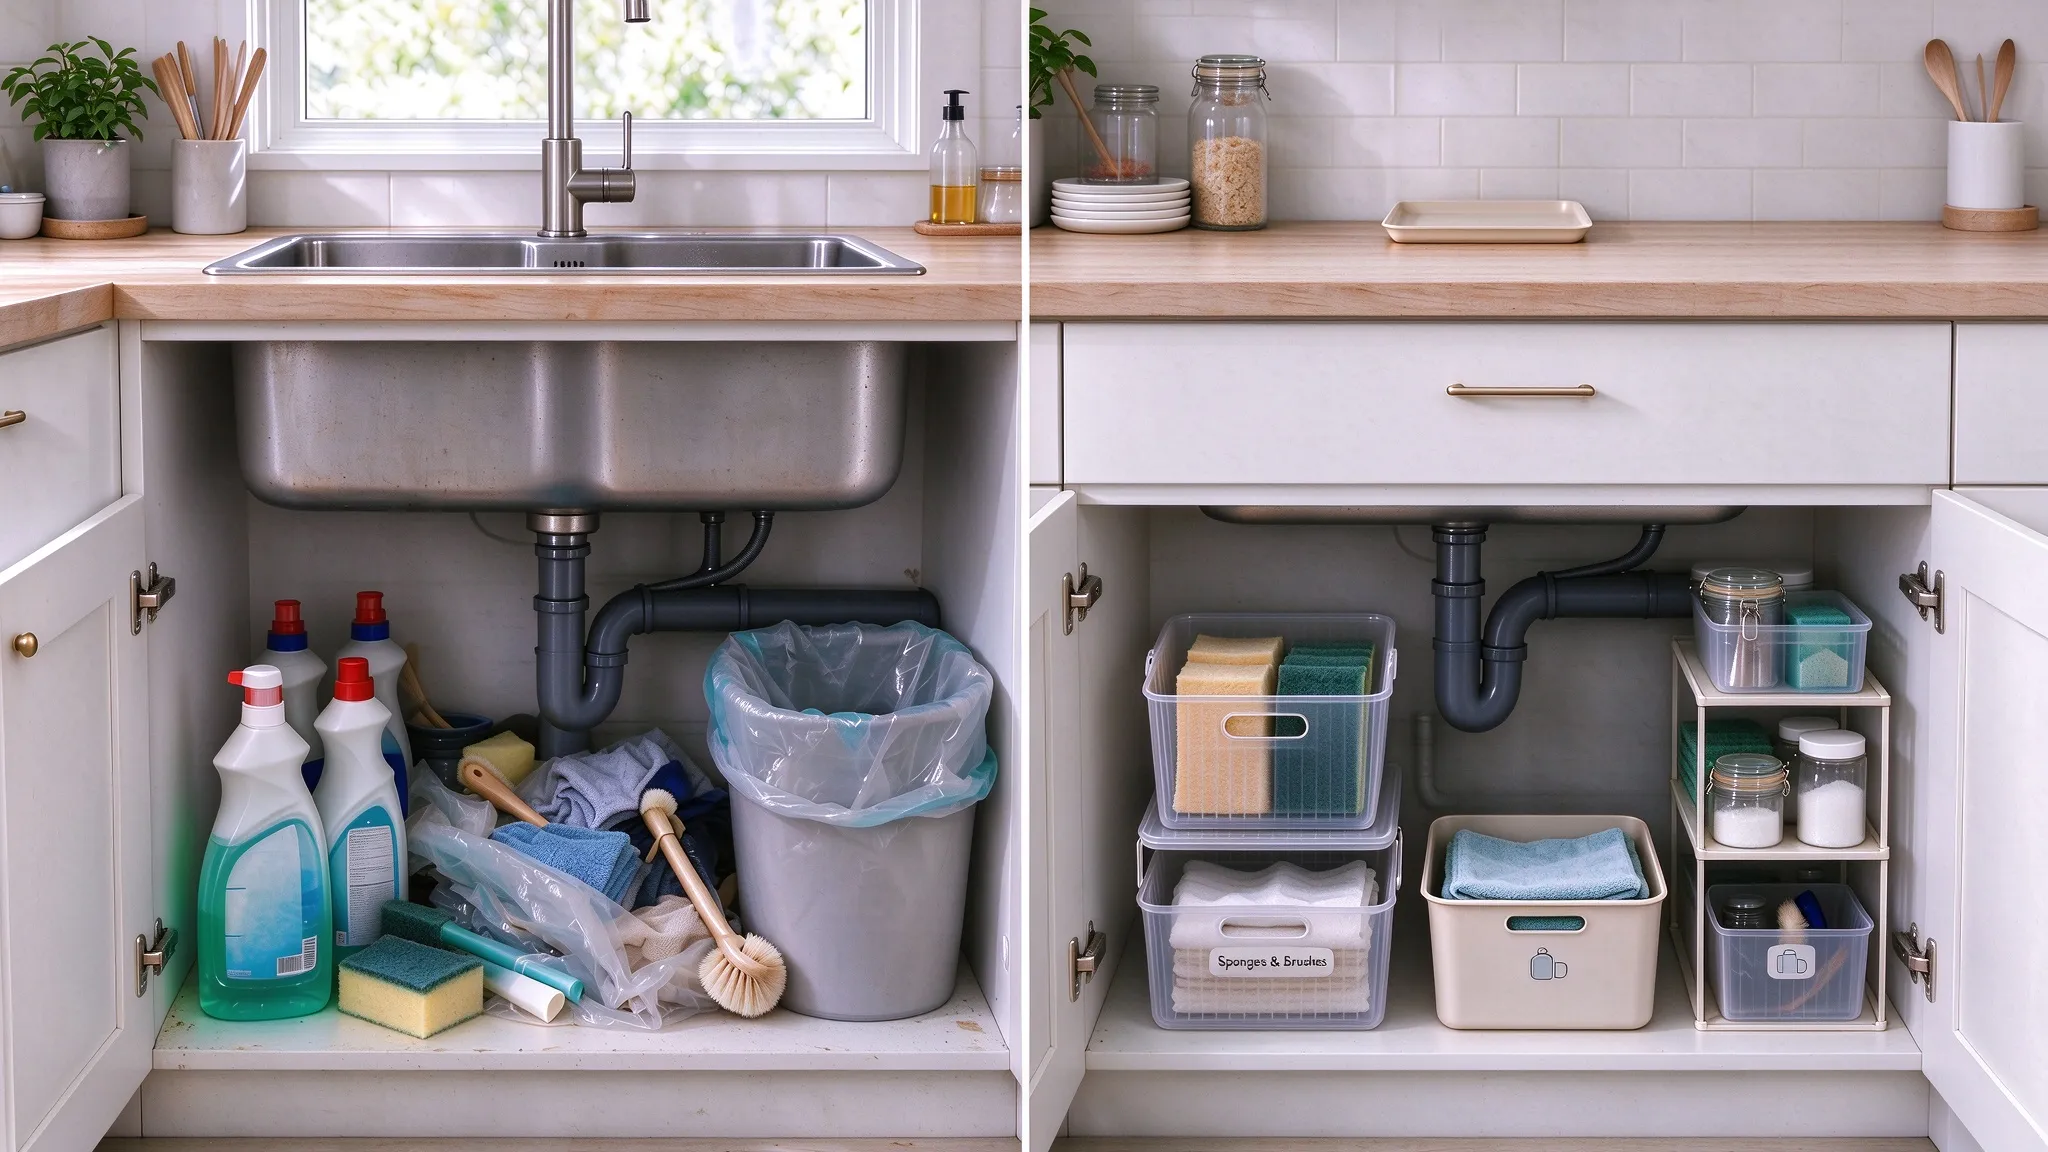
If you’ve ever dug through a jumble of bottles and sponges just to grab your dish soap, it’s time to sort out your kitchen cleaning supplies. The under-sink cabinet is notorious for getting messy fast — cleaning sprays, extra sponges, trash bags and scrub brushes all get tossed together in that one small space.
You don’t have to remodel your kitchen or buy pricey storage gear to fix this. A few simple tweaks will let you locate your supplies quickly, put them back with ease, and stop the mess from taking over your kitchen.
1. Sort Your Kitchen Cleaning Supplies Before Organizing
It’s tempting to order storage bins right away, but first pull everything out of the cabinet. You’ll likely spot bottles that are almost empty, tools you barely use, and even items that don’t belong in the kitchen at all.
Separate Cleaning Products, Tools, and Refills
Group like items together. For example, put dish soap and counter cleaners in one pile, sponges and scrub brushes in another, and seal up unopened refills in their own spot.
This way you can see exactly what you own and how much space each group needs. It also stops small items from getting lost behind tall bottles.
Before putting anything back, double-check that containers aren’t leaking or damaged, and follow the storage notes printed on the labels. Keep cleaning goods in their original packaging, away from food and cookware, and out of reach of kids and pets.
Get Rid of Empty or Unused Supplies
A half-full bottle you haven’t touched in months takes up just as much room as something you use every day. Toss empty containers, products you no longer want, and duplicates you bought by accident.
Dispose of unwanted cleaning items following the label directions and local waste rules. Once you clear out the clutter, you’ll have a much clearer idea of what storage solutions actually fit your needs.
2. Make the Most of Under-Sink Storage
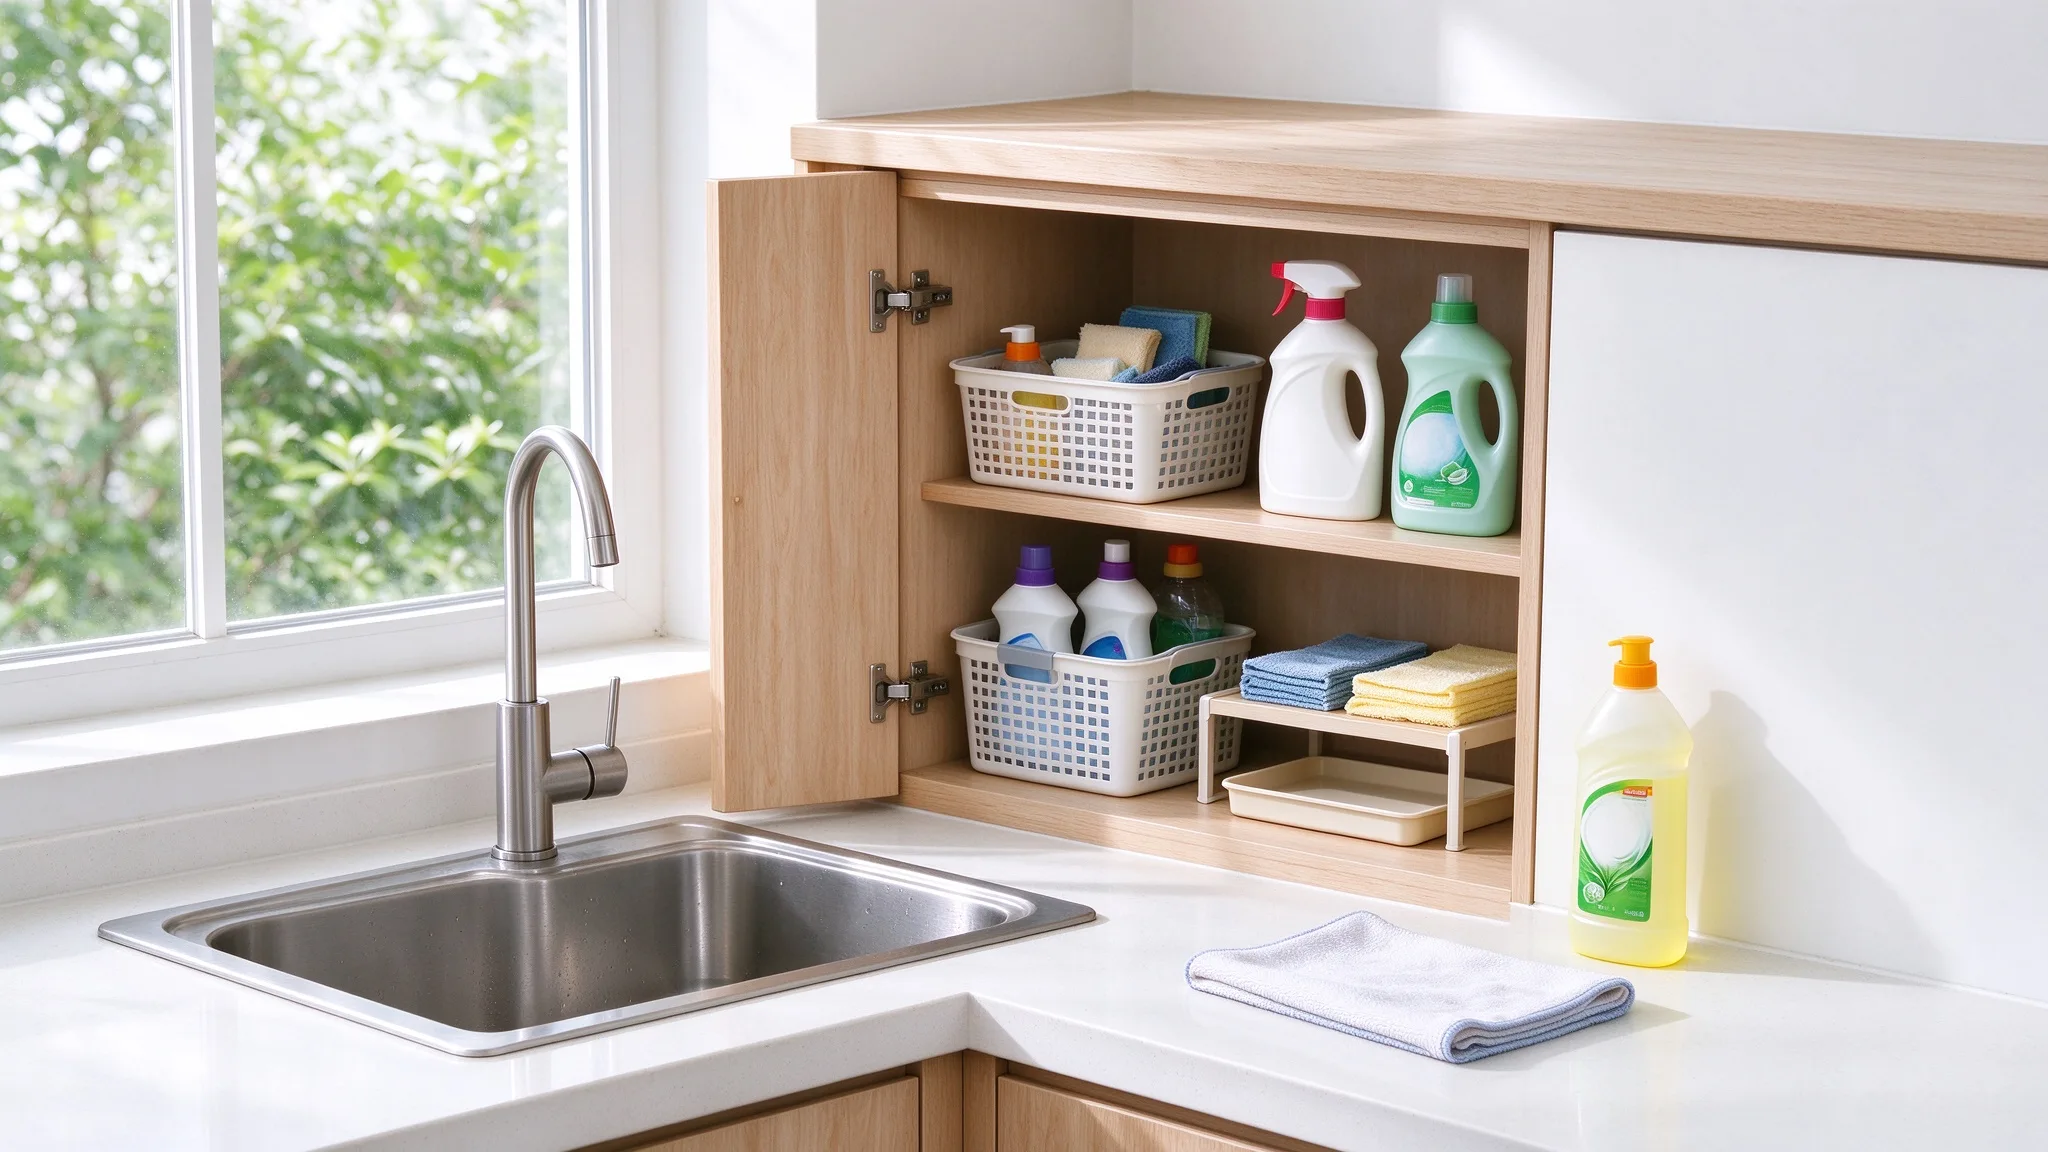
The cabinet under the kitchen sink is the go-to spot for cleaning supplies, but it can be tricky to arrange. Pipes take up valuable space, the back of the cabinet is hard to reach, and tall bottles often won’t line up neatly.
Don’t try to force every item into a perfect row; work around the space you’ve got.
Work Around Pipes and Limited Cabinet Space
Measure the cabinet first, including the areas around the plumbing. This keeps you from buying organizers that look great online but won’t fit once you get them home.
These practical options work well:
- Pull-out bins: Great for grabbing bottles tucked toward the back.
- Stackable shelves: Add an extra layer for small items without stacking everything on the cabinet floor.
- Narrow baskets: Fit neatly beside pipes or along cabinet edges.
- Small trays: Hold sponges and brushes together instead of letting them scatter everywhere.
If your cabinet is really tight, skip bulky organizers. Two smaller bins that slide in easily will serve you better than one oversized unit.
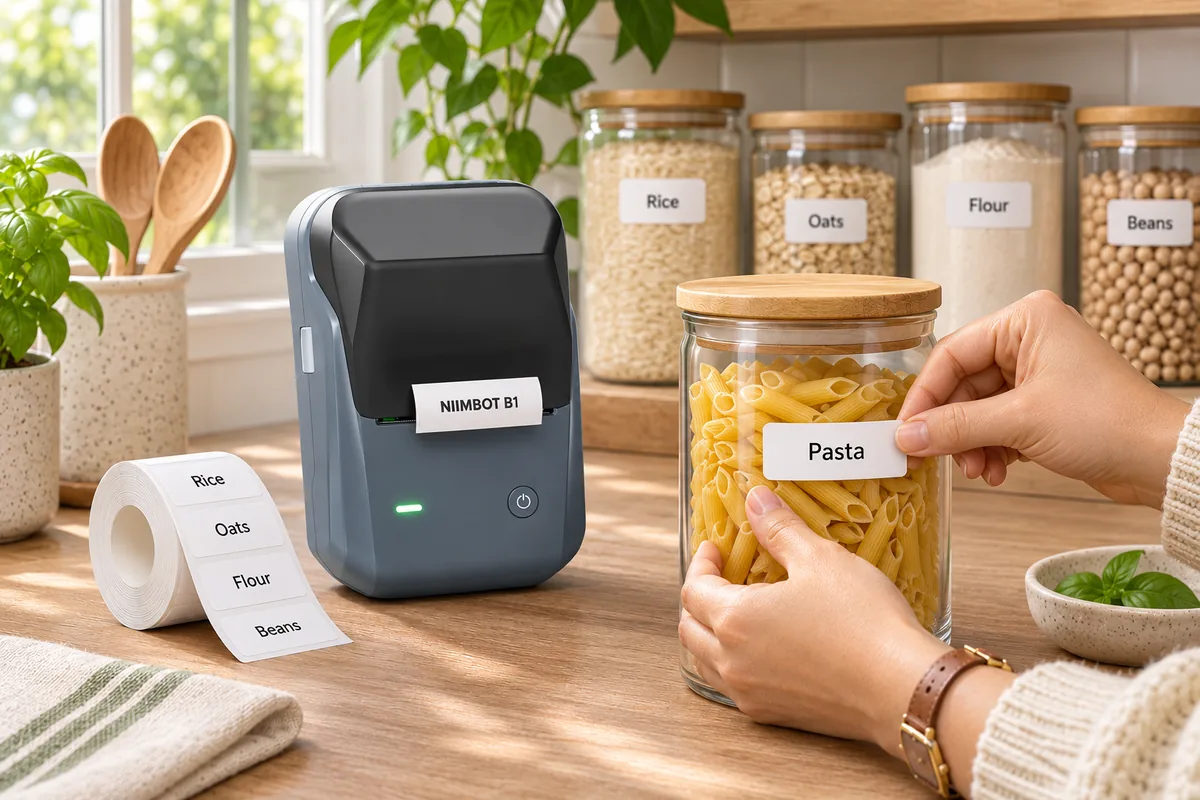
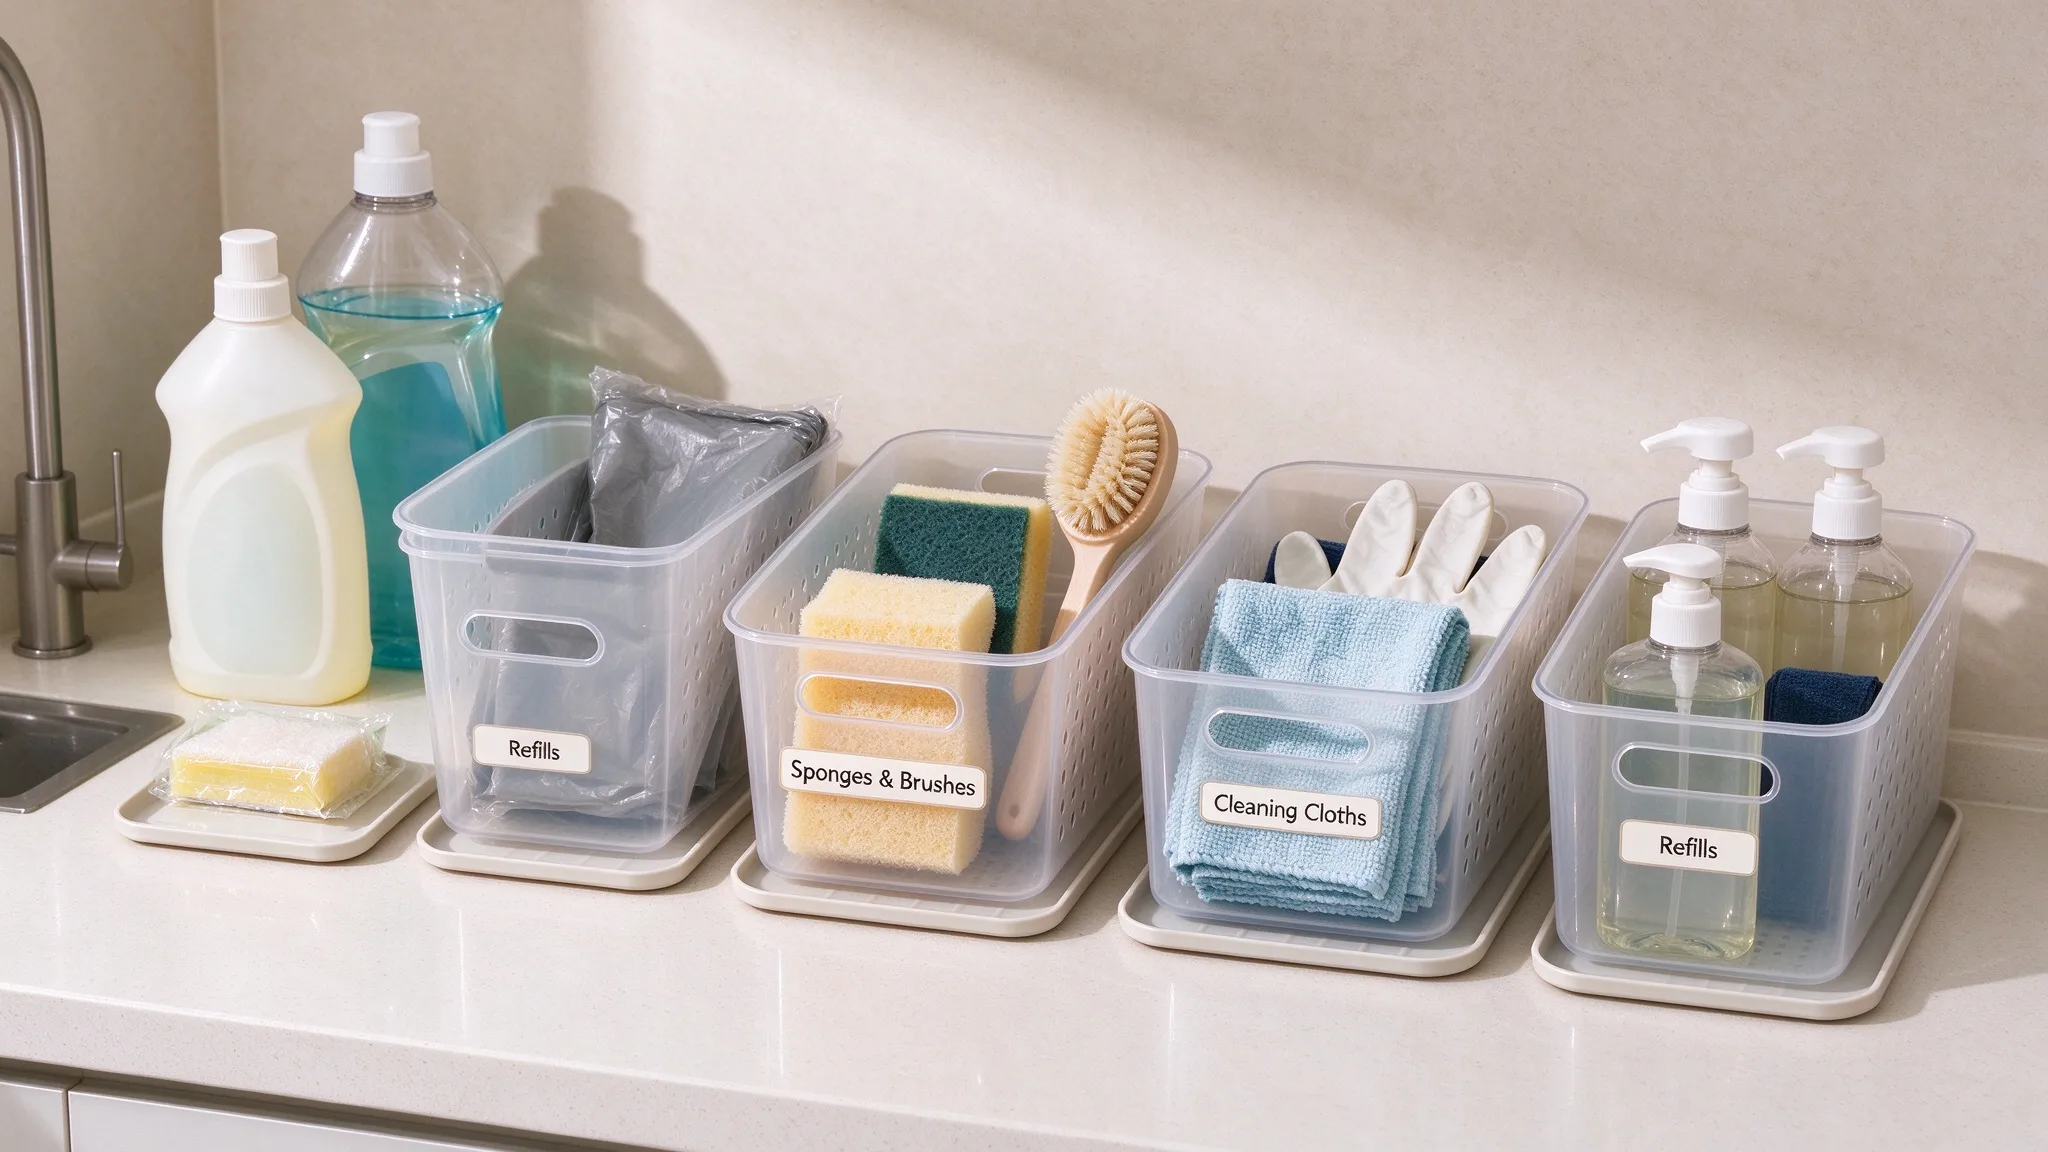
You can also mark each bin by what’s inside. A NIIMBOT D110 label maker lets you print simple labels for containers like “Sponges & Brushes” or “Cleaning Cloths.” It’s a small touch, but it saves you time rummaging in a crowded cabinet.
Keep Frequently Used Products Easy to Reach
Think about what you grab day in and day out. Dish soap, a sponge and scrub brush should be easier to get to than a backup cleaner you only use once in a while.
Keep your daily supplies toward the front or close to the sink. Stow extra refills further back or on a separate shelf, as long as they stay clearly marked and safely stored.
The core idea is simple: you shouldn’t need to empty most of the cabinet just to wipe down your countertop.
3. Choose a Cleaning Supplies Organizer That Fits Your Routine
A good organizer should make your daily life simpler, not just make your cabinet look neat. The best pick depends on what you store, how much room you have, and how often you use each item.
Use Bins and Baskets to Group Similar Items
You don’t need a separate container for every single product. A handful of clear groups is usually enough.
One bin can hold sponges and brushes, another for cleaning cloths and gloves, and a third reserved for backup supplies. If your cabinet is slim, smaller containers are easier to pull out and put back.
Clear bins let you see what’s inside without opening the lid. If you prefer solid baskets, make sure each category is easy to tell apart.
Make Small Items Easier to Find
Tiny cleaning accessories often sink to the bottom of cabinets and disappear. Brush heads, extra scrub pads and gloves turn into a messy pile fast when they don’t have a fixed spot.
Try keeping these bits in a shallow tray or an open small container. You can also separate dry tools from damp sponges and cloths, so wet items can air out properly.
A handy rule of thumb: if putting something away feels more annoying than grabbing it, your storage setup needs to be simplified.
4. Use Labels to Keep Everything in Its Place
Once every supply has its own spot, labels help everyone stick to the system. This matters especially when your bins look similar, or other family members use the same cleaning gear.
Label Storage Bins by Category
Keep label text short and specific. Labels reading “Sponges & Brushes,” “Cleaning Cloths,” and “Refills” are far easier to understand than vague labels like “Kitchen Stuff.”
A compact label maker like the NIIMBOT D110 prints consistent labels for bins, drawers and shelves. Its app comes with different fonts and icons, so you can keep labels plain or add a little graphic to tell categories apart at a glance.
For example, a sponge icon on your dishwashing tool bin makes its purpose obvious right away. You don’t have to label every single item; start with the containers that are most likely to get mixed up.
Stick labels on the storage bins or organizers themselves, not over the product packaging. The cleaning product instructions and safety warnings need to stay visible.
5. Keep Your Kitchen Cleaning Area Easy to Maintain
An organized cabinet won’t stay tidy on its own. That said, you don’t need a complicated cleaning schedule to keep it under control.
When you finish using something, put it back in its assigned spot. When you bring home a new refill, add it to the correct group instead of leaving it sitting on the counter. These little habits work better than fully re-organizing the cabinet every few weeks.
If you add a new storage bin or create a home for a new supply type, update your labels too. With the NIIMBOT D110, you can quickly make matching labels for new containers, so your organization system stays consistent as your storage needs change.
It’s also smart to check the space now and then. If one bin is always overflowing while another sits nearly empty, adjust your setup instead of cramming everything into the original layout.
Your kitchen organization should fit your daily habits. If a container is hard to reach or a category grouping no longer makes sense, change it. The goal isn’t a perfectly staged cabinet for photos — it’s making the things you need simple to find and put away.
Frequently Asked Questions
Q1:What Should Be Included in Kitchen Cleaning Supplies?
A:Most kitchens only need a few basics: dish soap, surface cleaner, sponges, scrub brushes, microfiber cloths and cleaning gloves. You might also keep dishwasher pods, trash bags and other extras based on your cleaning habits.
Q2:Where Should You Store Kitchen Cleaning Supplies?
A:The under-sink cabinet is a convenient choice for many families, but it’s not the only option. Keep daily-use items near the sink, and store less common products in another cabinet. Keep cleaning goods in their original packaging, separate from food and cookware, and away from children and pets.
Q3:How Do You Organize Cleaning Supplies in a Small Kitchen?
A:First, clear out empty or unused products, then group what’s left by type. Use narrow bins, stackable shelves or small trays to make the most of limited cabinet space. Keep your most-used items within easy reach, and skip buying organizers until you measure your storage area.