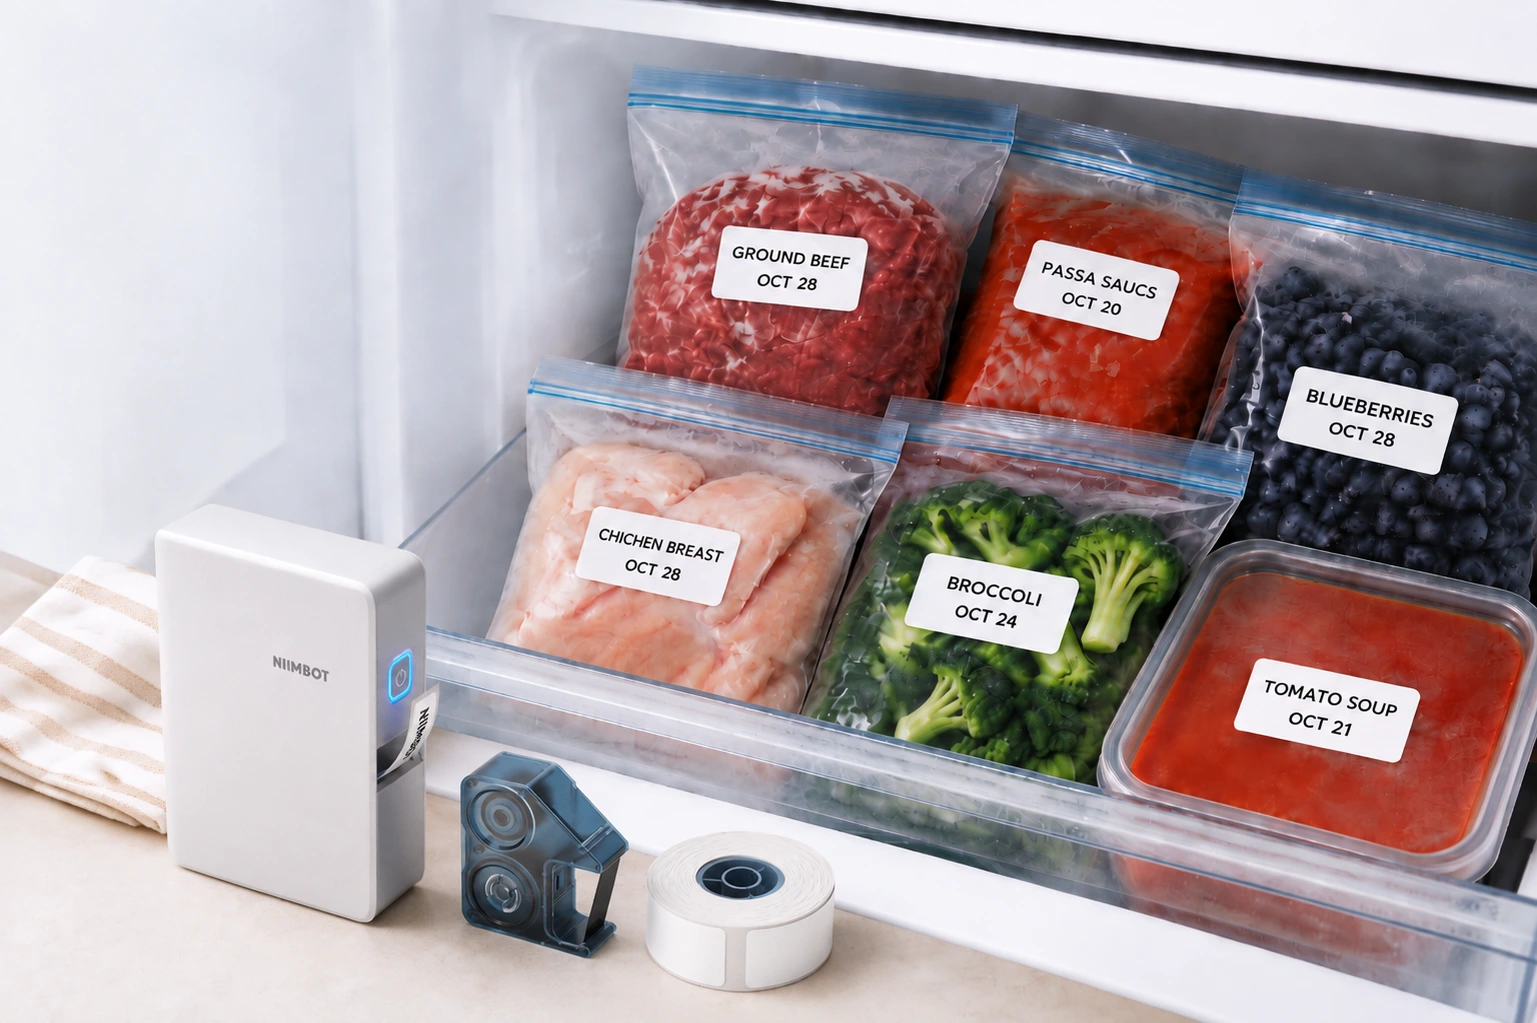
If you've ever had to print labels for dozens or even hundreds of products, you know how tedious it can get. Open a template, change the product name, update the SKU, print, and then repeat the whole process again. It's not difficult, but it takes up more time than it should.
Batch printing really simplifies things: instead of making individual labels, you can put all your information in a spreadsheet, import that data with compatible NIIMBOT software, then print out an entire batch at once!
We'll take you step by step through the process, from preparing your Excel file to checking the final print results. This is particularly helpful if you run a small business, retail store, or warehouse, or frequently need to print labels for different products or items.
1. What Can You Do with Batch Printing?
Batch printing is simply a way to print multiple labels without having to edit and print each one separately.
There are two situations where it comes in handy:
01. Printing Identical Labels
For example, 100 labels with the same brand name, product information, or warning message.
02. Printing Different Labels
For example, 50 product labels with different names, SKUs, sizes, or barcodes.
Think about a clothing store preparing labels for a new collection. Each item may have a different size, color, and SKU. Changing the information manually for every label would take quite a while. With batch printing, the details can be organized in a spreadsheet first, then added to the label design automatically.
It's a much more practical way to handle large labeling jobs.
2. Get Your Excel File Ready
Before opening the NIIMBOT software, take some time to organize your information. This is one of the most important parts of the process. If your spreadsheet is messy, it can create issues later on, especially if you're printing a large number of labels.
For example, let's say we're making product labels for a clothing store. Our Excel file might look something like this:
| Product Name | SKU | Color | Size |
|---|---|---|---|
| Classic T-Shirt | TS-BLK-S | Black | S |
| Classic T-Shirt | TS-BLK-M | Black | M |
| Classic T-Shirt | TS-WHT-S | White | S |
| Cotton Hoodie | HD-GRY-L | Gray | L |
| Cotton Hoodie | HD-BLK-XL | Black | XL |
A few things are worth checking before you import the file:
- Put each product or item on a separate row.
- Use clear column names, such as Product Name, SKU, and Size.
- Make sure there are no unnecessary blank rows.
- Double-check product codes and spelling.
- Keep leading zeros in codes if they are important. Excel may remove them automatically if a column is formatted as a number.
Quick tip: For barcode labels, pay extra attention to the source data. A small mistake in a product code can result in a barcode that points to the wrong item.
Once everything looks right, save the spreadsheet in a file format supported by your NIIMBOT software.
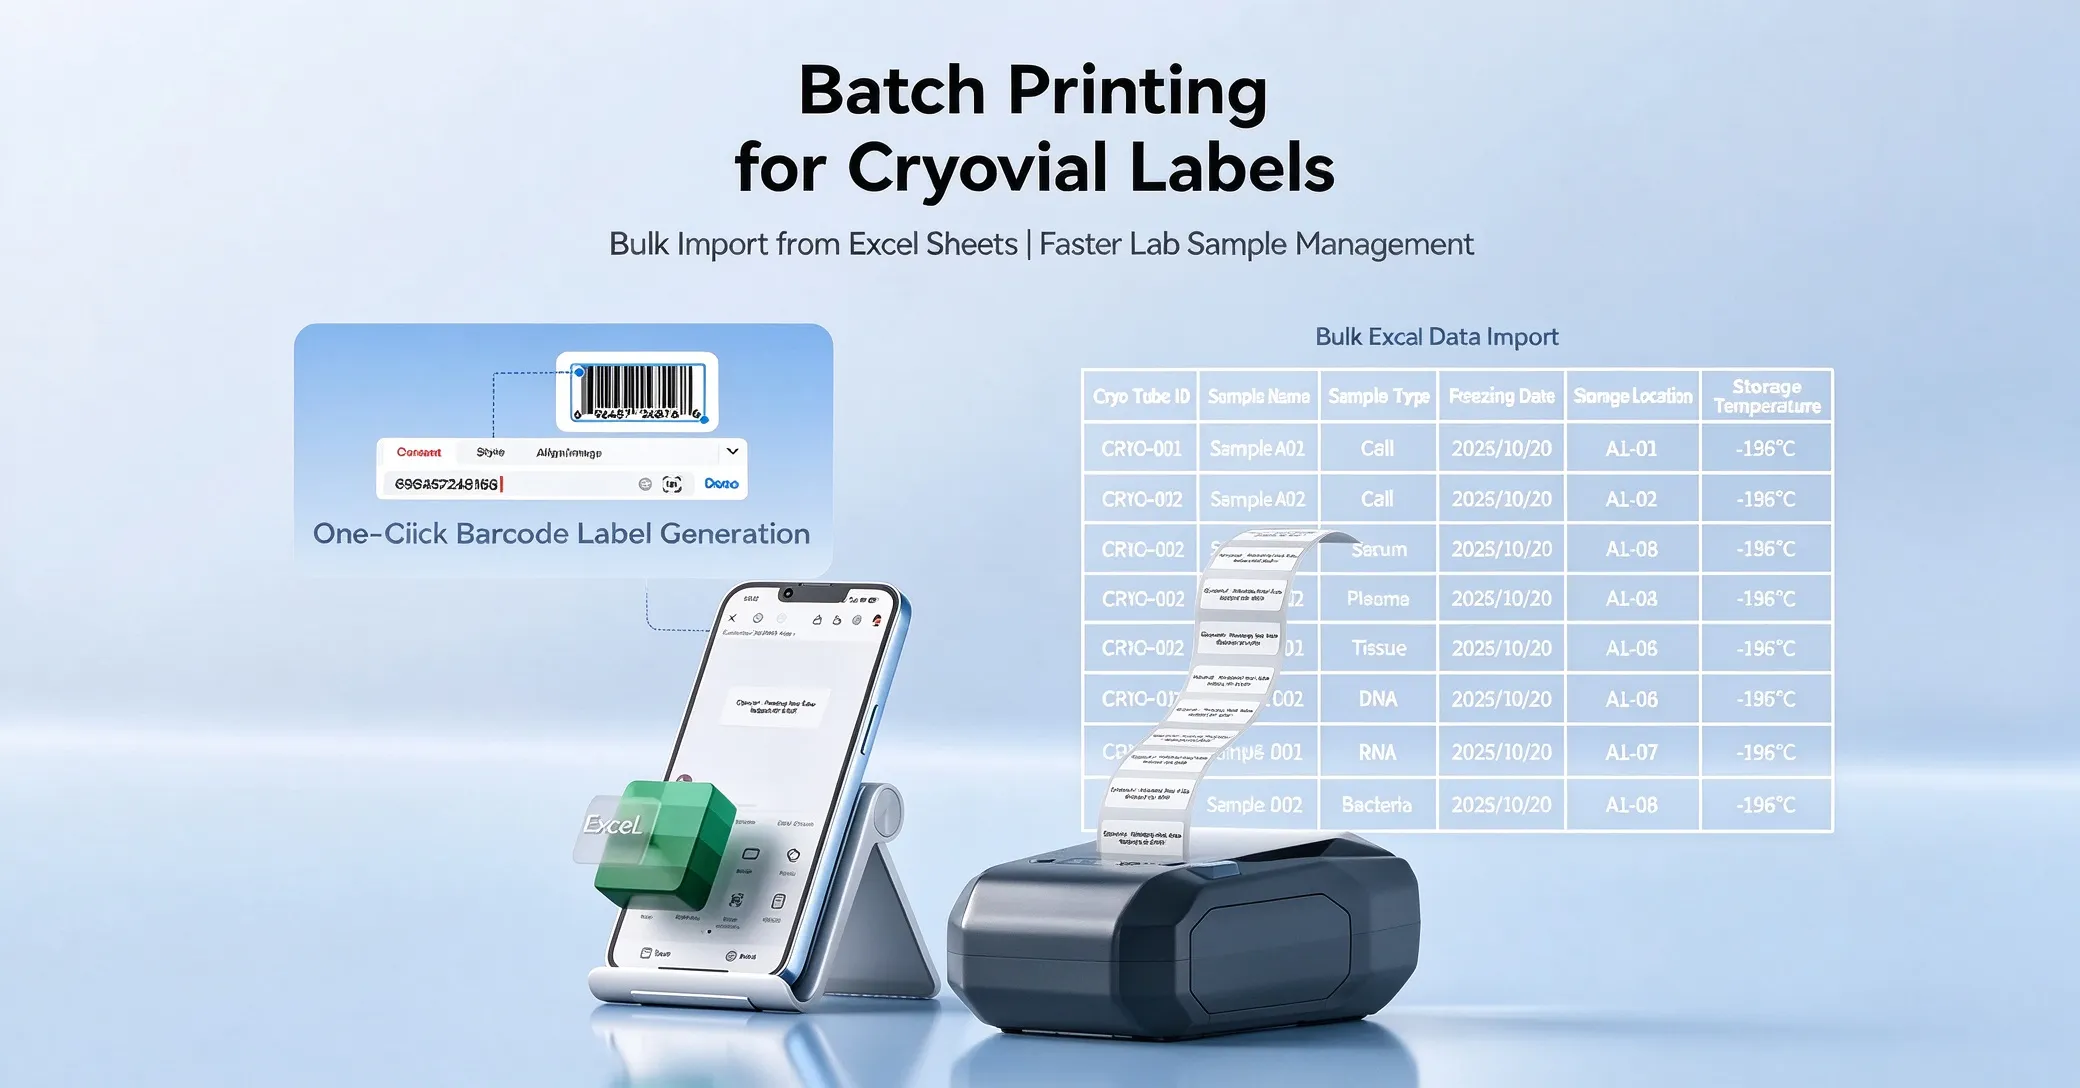
Example: Organizing product names, SKUs, colors, and sizes in Excel before batch printing.
3. Connect Your NIIMBOT Printer
With your data ready, it's time to get the printer set up.
Install the software
Download the NIIMBOT App or compatible desktop software for your device. Make sure you're using a version that supports your printer model and the batch-printing features you need.
Load your labels
Open the printer cover and place the compatible label roll inside. Check that the roll is positioned properly and that the labels feed through without getting caught.
Connect your printer
Turn on the printer and connect it to your phone or computer using a supported connection method, such as Bluetooth or USB. Select your printer in the software and check that the connection is working.
If the printer doesn't show up, check your Bluetooth permissions or USB connection before trying again.
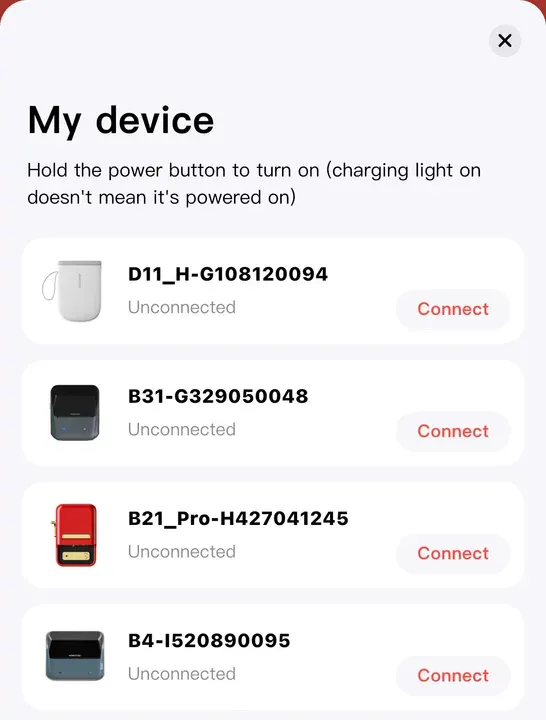
Example: Selecting and connecting a NIIMBOT printer in the software.
4. Design a Label Template
Now comes the design part. The good news is that you only need to create the layout once. The information on each label can change automatically when you import your spreadsheet.
For a basic retail product label, you might want to include:
For warehouse labels, you may only need a shelf number and barcode. There's no need to squeeze too much information onto a small label. Keep the layout clean and make sure the most important details are easy to spot.
Adjust the font size, text alignment, and barcode position until everything fits. Also, check that the template matches the actual size of the label roll you're using.
Once you're happy with the design, save the template. You can reuse it the next time you need to print a similar batch.
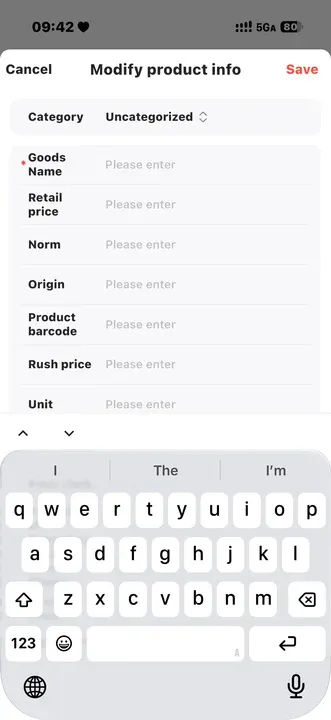
Example: Creating a reusable product label template with text and barcode fields.
5. Import Your Excel Data and Print in Bulk
This is where the time-saving part really happens.
Step 1: Open the batch-printing feature
Find the batch-printing or data-import option in your NIIMBOT software. The exact name and location may differ depending on your software version.
Step 2: Import your Excel file
Choose your prepared spreadsheet, then follow the software's import instructions. The software will display the available data fields from your file.
Step 3: Match the data to your label
Connect every spreadsheet column to the correct element in your template. For example:
| Excel Column | Label Content |
|---|---|
| Product Name | Product name |
| SKU | SKU number |
| Color | Color |
| Size | Size |
If you've added a barcode to the design, link it to the correct product code or SKU field.
Step 4: Check the preview
Don't skip this part. Scroll through the imported records and make sure the information appears in the right places. Watch out for long product names, missing values, and codes that have lost their leading zeros.
Step 5: Set your print quantity
Choose the records you want to print and enter the required quantity. Check the print settings, then start the job.
Some NIIMBOT software versions also support multiple templates in one batch, with separate print quantities for different designs. If you're using this feature, check that each template has the correct data and quantity before printing.
6. Print a Sample Before Running the Whole Batch
It's tempting to send everything to the printer once the data has been imported. But printing one or two samples first can save you from wasting an entire roll of labels.
| What to Check | What to Look For |
|---|---|
| Text | Is everything readable and properly aligned? |
| Barcode | Can it be scanned successfully? |
| Label size | Does the design fit the label? |
| Product details | Are the name, SKU, and other details correct? |
| Print quality | Are the lines and characters clear? |
If you're printing labels with dates, check whether your software version supports an automatic timestamp feature. When available and enabled, it can update the printed date or time automatically rather than requiring you to change it manually.
Once the sample looks right, go ahead with the full batch.
7. Common Batch Printing Problems
Even with everything prepared, things don't always go perfectly. Here are a few common issues and what you can try.
| Problem | What to Check |
|---|---|
| Excel file won't import | Check the supported file format and remove unnecessary blank rows. |
| Information appears in the wrong place | Review the field mapping between Excel and your template. |
| Some text is missing | Check for empty cells or text that exceeds the label area. |
| Labels aren't aligned properly | Confirm the label dimensions and reload the roll. |
| Printer won't connect | Check Bluetooth or USB settings and reconnect. |
| Barcode won't scan | Verify the source code and print a sample to test it. |
If you've checked these points and the problem remains, refer to the instructions for your specific NIIMBOT printer model or contact NIIMBOT support.
Final Thoughts
Printing labels one by one might be fine when you only need five or ten. But when you're managing a growing product list or preparing hundreds of labels for a new shipment, it quickly becomes a time-consuming task.
With NIIMBOT batch printing, you can organize your information in Excel, create a reusable label template, and print multiple labels without editing every design manually.
The best way to get started is to try a small batch first. Once you've got your spreadsheet and template working together, the next large labeling job should be much easier to handle.