The situation is familiar to everybody: the mailroom is small, but the one letter you need is usually at the bottom of something. There are shelves, cabinets, bins, and drawers — so many storage places, and yet no system. If you ask three different people where something should be placed, you get three different answers.
This post skips the renovation step. With two zones and some labels, your mailroom organizer starts working properly — and stays that way even after the busiest week.
1. Create Two Zones and Stop Rearranging
Most mailrooms fall apart because incoming mail and stored assets share the same shelf. Split them once, and half of your daily searching disappears.
Zone One: Things That Move
This zone takes anything with a short stay — packages, interoffice mail, outgoing shipments, and papers waiting for a signature.
- Use a vertical mailroom sorter with one slot per department. Label each slot with the department name and its extension.
- Create a dated HOLD shelf. Anything still sitting there after seven days gets a second look and moves out, so the shelf never turns into permanent storage.
Zone Two: Everything That Stays
This zone holds shared assets — keys, access cards, chargers, tools, spare supplies, and tagged equipment.
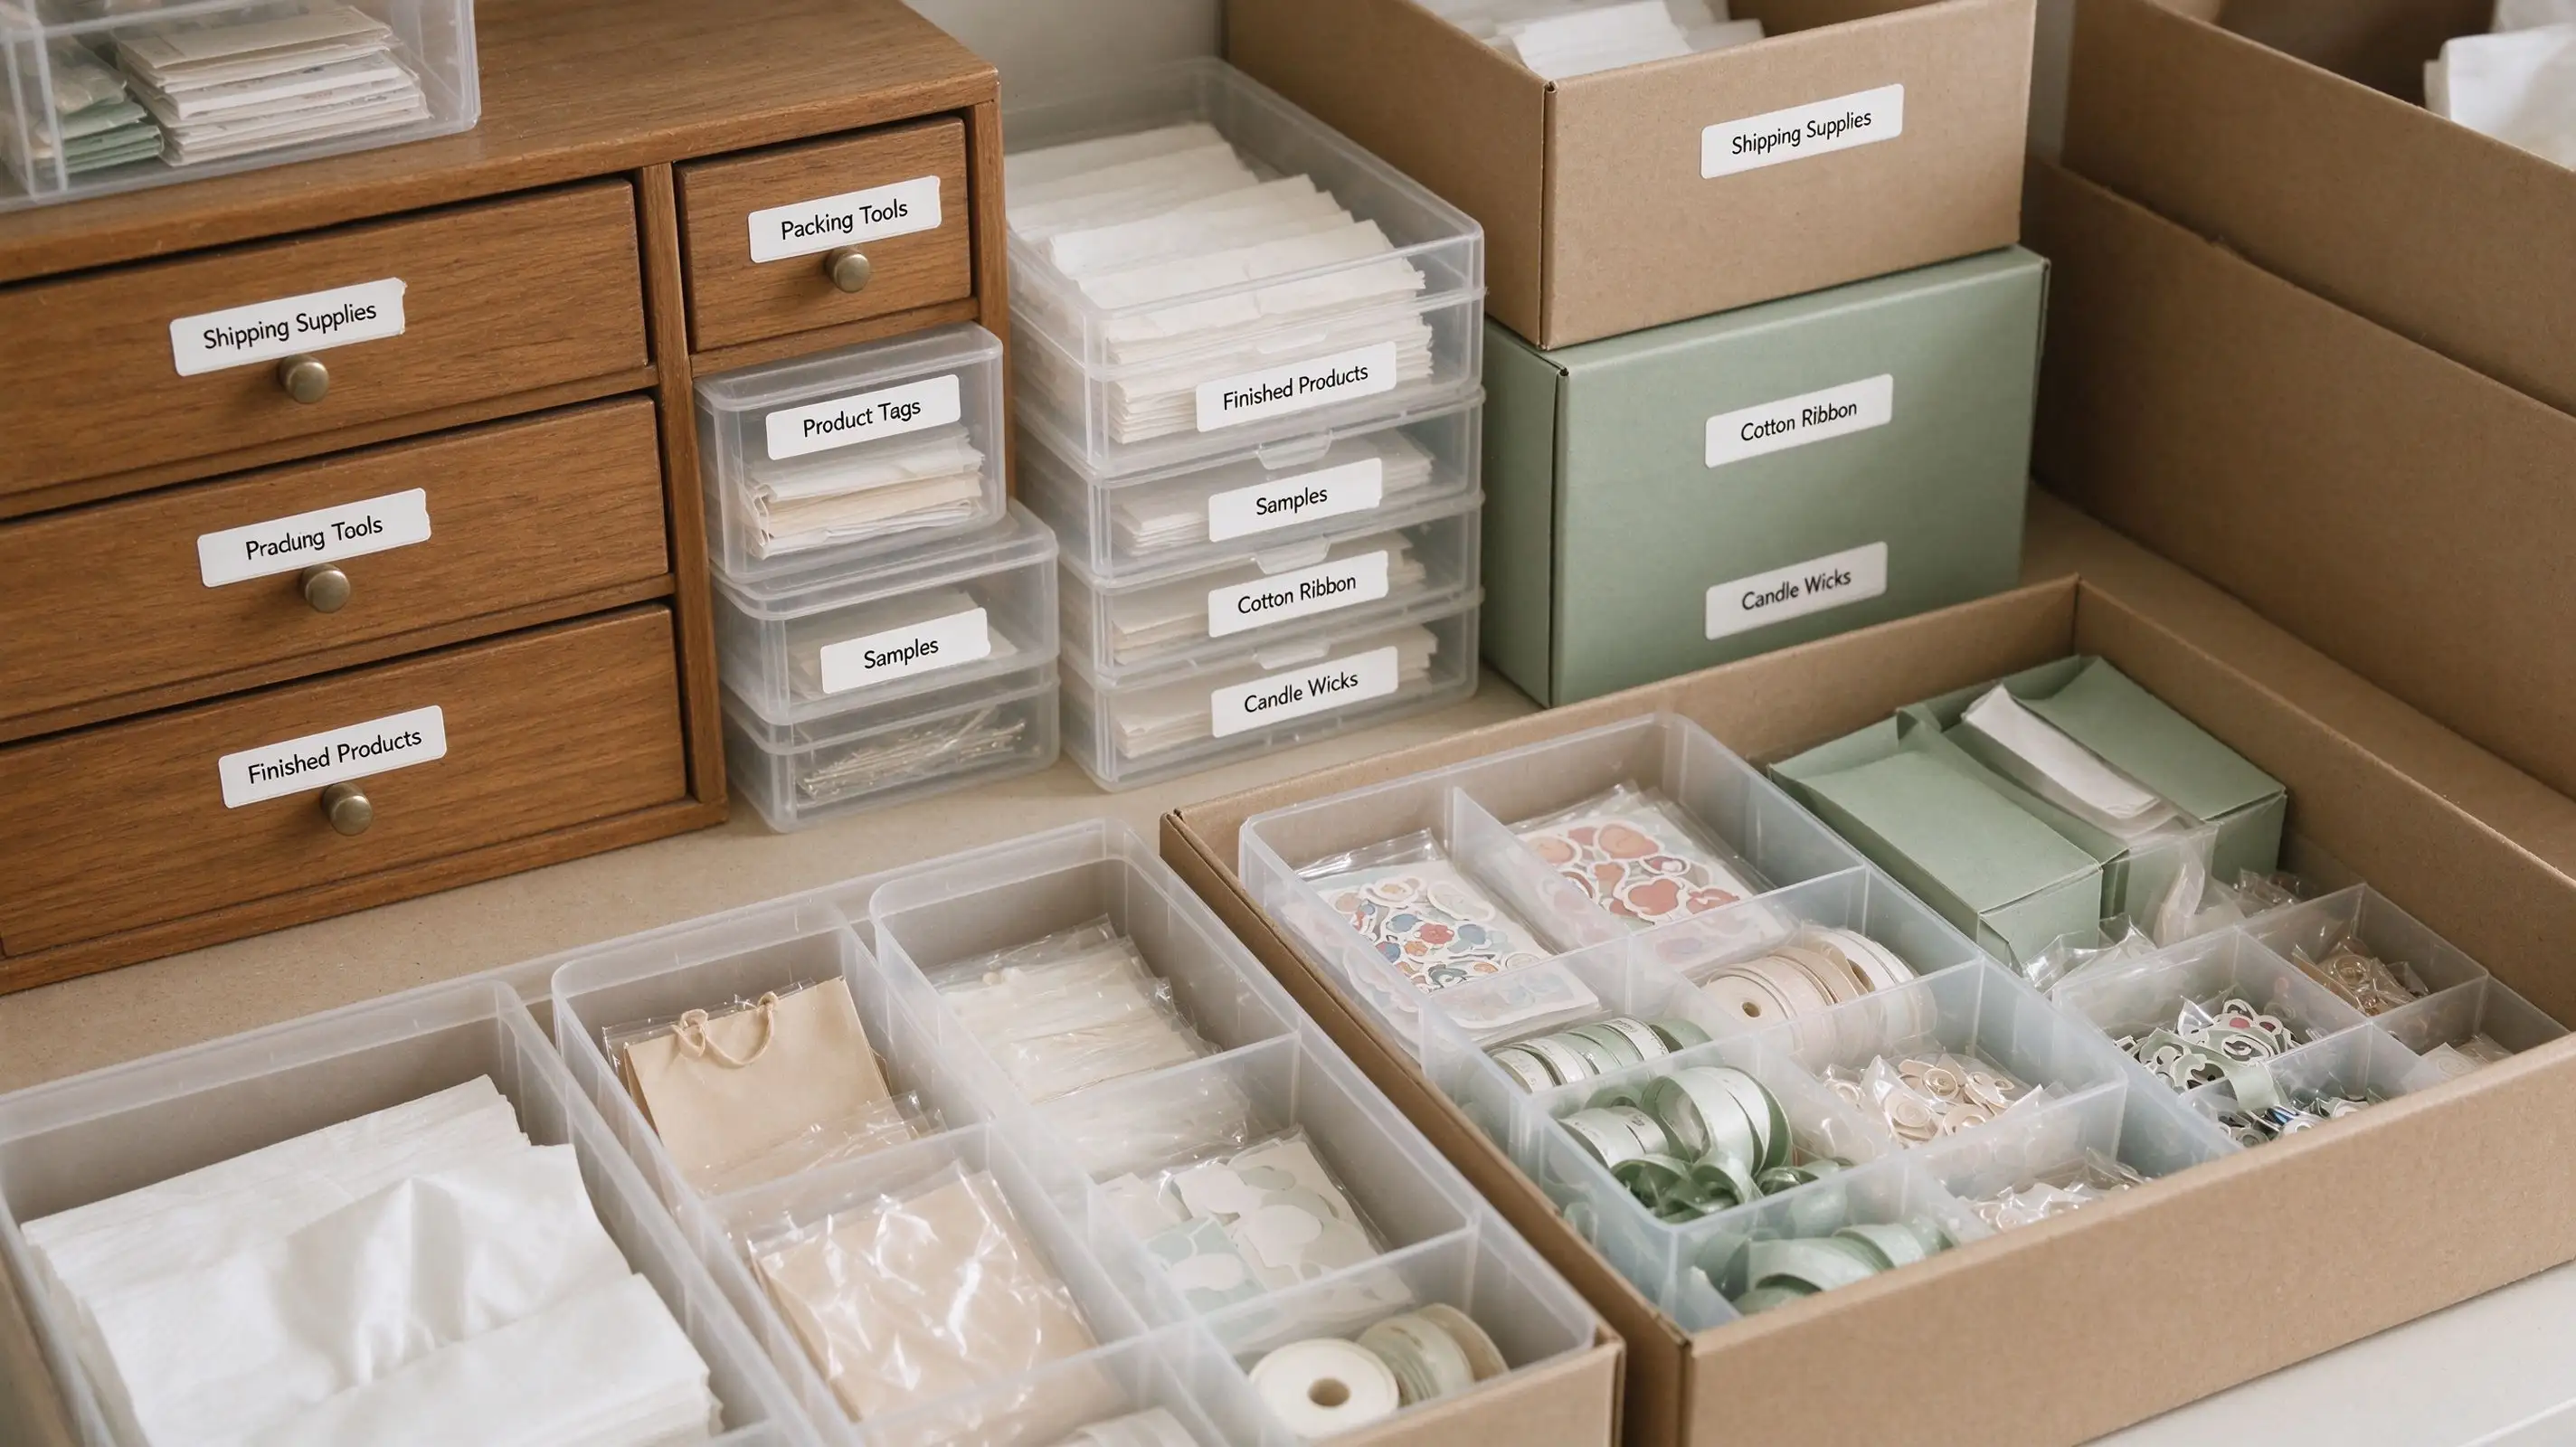
- Name bins by ID, not by contents. A bin labeled A-03 with one short contents line can be refilled by anyone, even after the items inside change.
- Use a desk drawer organizer for the small things. Shallow inserts stop stamps, cables, and keys from sliding into the drawer void. Label the insert, not the drawer, so it stays useful when the drawer is moved.
- Put keys and cards on a labeled board. A hook with a room code beats a bowl of forty unlabeled keys.
2. Label Everything in One Pass
A storage system breaks down the moment a new employee has to ask where something belongs. Labels are what let a shelf explain itself — and printing them all together is faster than fixing them one at a time.
What to Print on Each Label
| Where it goes | What the label says | Label size |
|---|---|---|
| Mail slot | Department + extension | 40 × 20 mm |
| Bin or shelf | Bin ID + contents + date range | 50 × 30 mm |
| Fixed asset | Asset code + barcode (e.g. FA-2026-0147) | 40 × 30 mm |
| Key or access card | Room code + holder | 30 × 14 mm |
| Cable or folder tab | Device code or file code | 25 × 78 mm |
The One-Pass Routine
Empty one shelf at a time. Sort items into three piles: keep here, move to the other zone, or decide by Friday. Don't start the next shelf until the third pile is empty.
Print all labels in one batch. You don't need to measure anything first. Print slot labels, bin labels, and asset tags together, while the shelf is still empty and you can see exactly what you need.
Stick first, then fill. Put the label on the container before anything goes inside. The label then describes the slot, not whatever happened to land there first.
3. What Kind of Label Printer Do You Really Need?
Label printers come in two types, and the difference decides whether your labels last a year or five.
Direct Thermal vs Thermal Transfer
| Direct thermal | Thermal transfer | |
|---|---|---|
| How it prints | Heating darkens the label paper itself | A ribbon melts coating onto PET film |
| Fade risk | Fades in heat and sunlight, often within months | Rated to stay legible for years |
| Cleaning and handling | Smudges with alcohol or repeated rubbing | Resists water, oil, alcohol, and scratches |
| Best for | Short-term shelf and bin labels | Asset tags, equipment plates, long-term files |
Why Fixed Assets Need Thermal Transfer
The asset tag has to outlast the equipment's warranty. It gets wiped with alcohol, sits near a window or a radiator, and stays on the shelf for years. A faded tag means a barcode that won't scan and an audit you can't close — which is why thermal transfer is the only logical choice for fixed-asset work.
4. Which Thermal Transfer Printer Fits Your Mailroom?
Three NIIMBOT models cover almost every mailroom, and they differ mainly by label width.
Three Models, Three Jobs
① NIIMBOT M2
2-inch width (20–50 mm), 300 dpi, color ribbons in black, white, red, blue, green, and gold. Best for mail slots, bins, drawers, and small asset tags.
Check M2 →② NIIMBOT M3
Handles stock up to 75 mm wide. Best for fixed-asset cards, equipment plates, and large carton labels.
See M3 →③ NIIMBOT N1
8–14 mm width. Best for cable flags, folder tabs, and key tags.
View N1 →How to Print Your First Labels with NIIMBOT M2
Load the roll and the ribbon. One ribbon prints about three rolls of labels, so there's no ink or toner to buy.
Open the NIIMBOT app and pick a template. Choose from 1,000+ icons and 100+ borders, or import your asset list from Excel for bulk printing.
Pair over Bluetooth or a USB cable. The M2 accepts up to 10 phones at once, or a cable connection when the batch is large.
Print and stick. Output is 300 dpi, the label size is recognized automatically, and there is nothing to measure. Width runs 20–50 mm.
What Changes in the First Afternoon
- A whole mailroom gets sorted and labeled in about 30 minutes instead of a weekend.
- Asset labels survive wiping, handling, heat, and a year on the shelf, so the fixed-asset list finally matches the shelf.
- Anyone can restock a bin without asking, because the label says what belongs there.
5. FAQ
How many labels does one mailroom need?
Most offices land between 40 and 80. Start with slots and bins, then keys, then asset tags. One M2 ribbon prints about three rolls of labels, so a single ribbon usually finishes the setup — with spares left for the first few weeks of changes.
Will the labels fade or peel off?
No. Thermal transfer printing runs a ribbon onto PET film, so the image sits on the surface instead of soaking into paper. That's why these labels stand up to water, oil, alcohol wipes, scratches, and temperature swings. On painted metal shelves and plastic bins, they stay readable for years.
Can I print asset tags in bulk from a spreadsheet?
Yes. Import your code list into the app and print in batches, or connect the M2 to a PC by cable and print serialized codes straight from Excel. If your codes include barcodes, keep them at least 15 mm tall so phones scan them on the first try.
6. Start With the Ten Slots You Use Every Day
You don't need to label the whole room on day one. Take the ten slots that get used most often, load a roll, print twenty labels, and let the shelf explain itself.
Make the shelf explain itself
Load a roll, print twenty labels, and hand the system over to your team.
Get the NIIMBOT M2 →