Kids’ school gear tends to get mixed up all the time. Think of a water bottle left sitting on a classroom table, a lunch box mixed in with three identical‑looking ones, or a pencil case that somehow winds up inside another kid’s backpack. These small mix‑ups happen far more often than most parents expect.
Sticking name labels on your kid’s belongings cuts down plenty of this confusion. You do not need overly fancy designs at all. A legible name, their go‑to favourite colour, plus one tiny graphic is usually more than enough to make daily school gear simple for children to tell apart.
Whether you are prepping for the new school year, or just want to tidy up your kid’s belongings, below are practical tips to craft usable, kid‑friendly school labels for all kinds of school supplies.
1. Start With Items That Often Go Missing
Everyday Items That Need Labels Most
Before you jump into making school labels, take stock of what your child actually brings to class each day. Certain pieces of gear get misplaced way more frequently, so there is no real need to slap stickers onto every single thing they own.
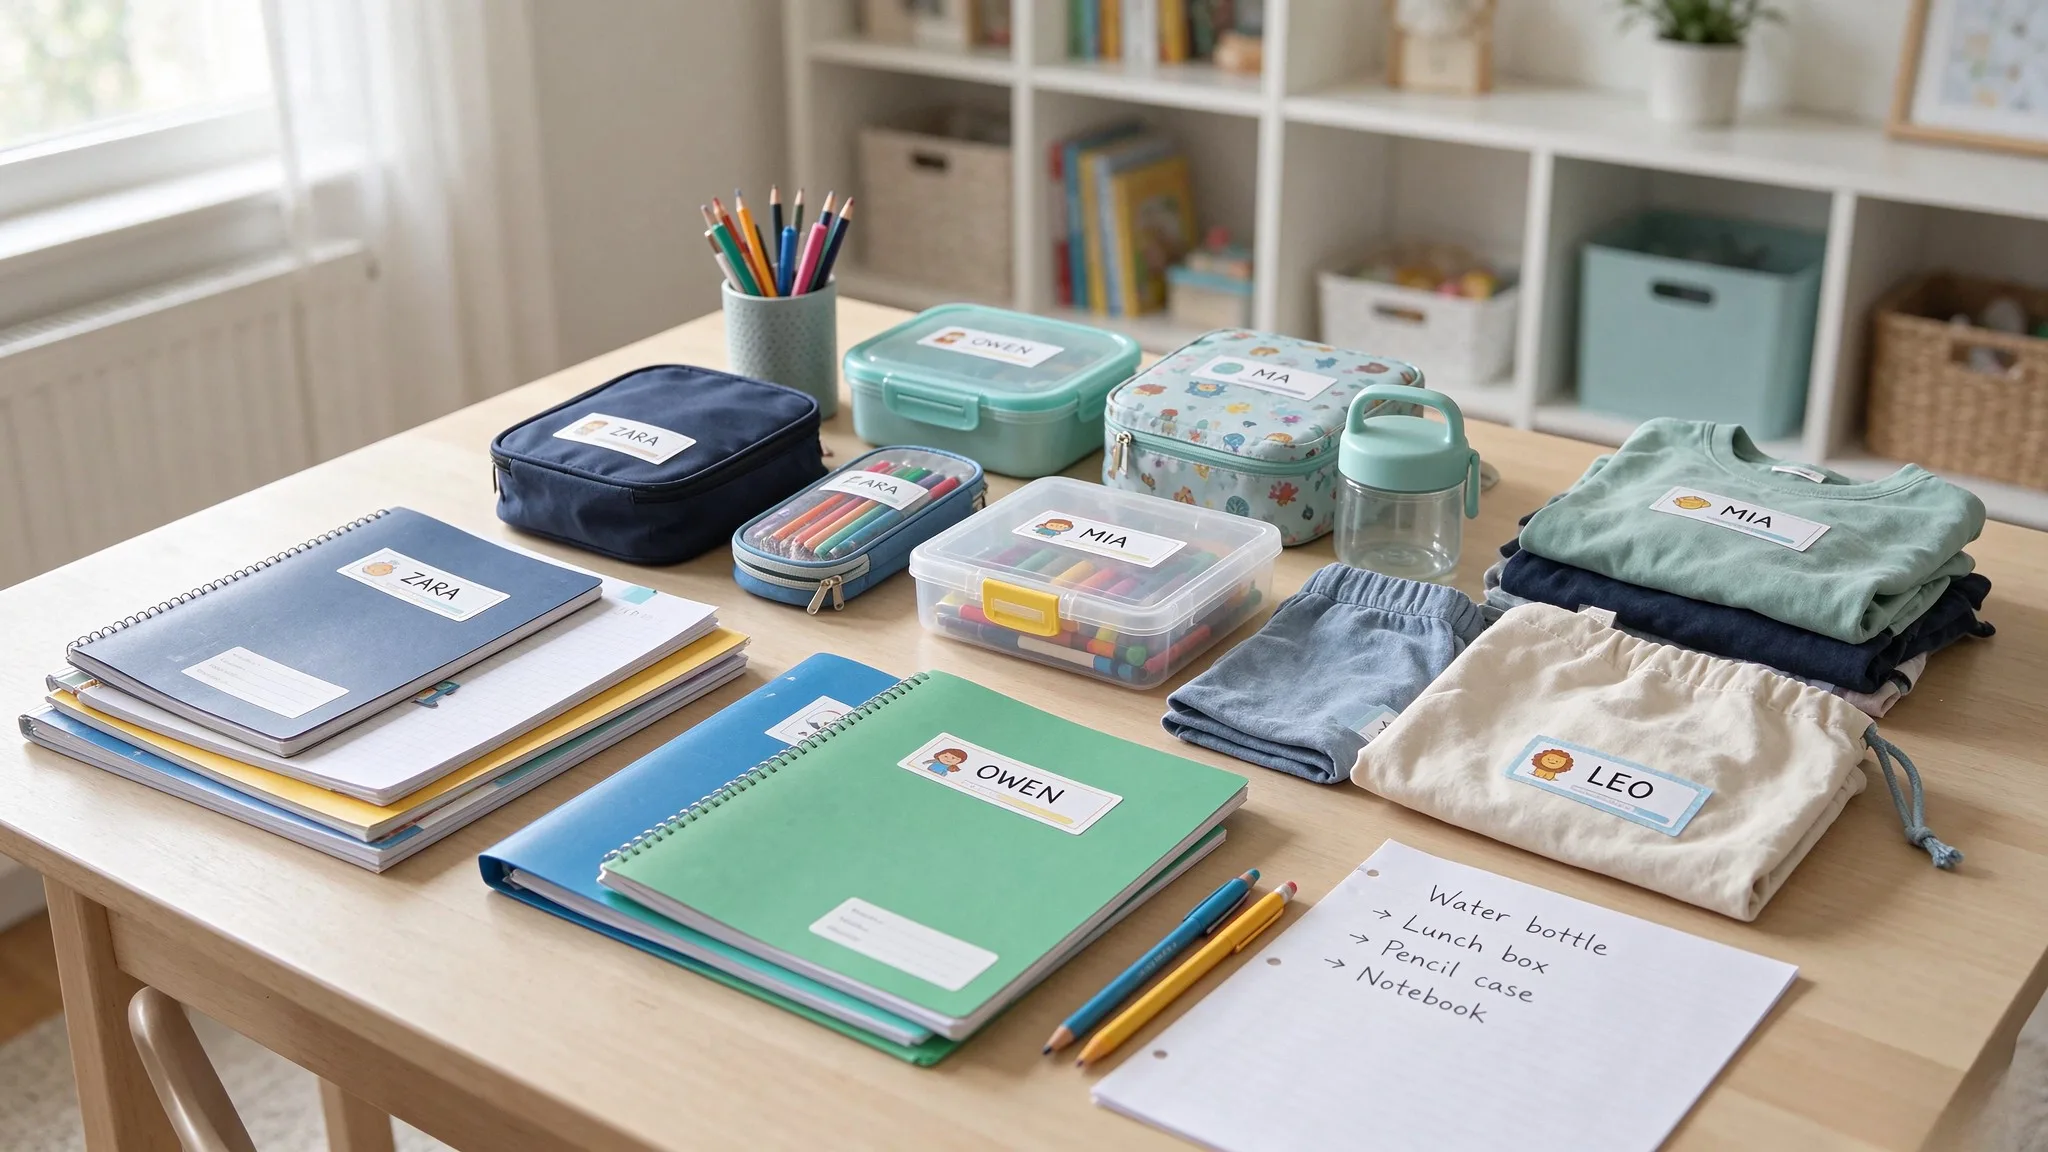
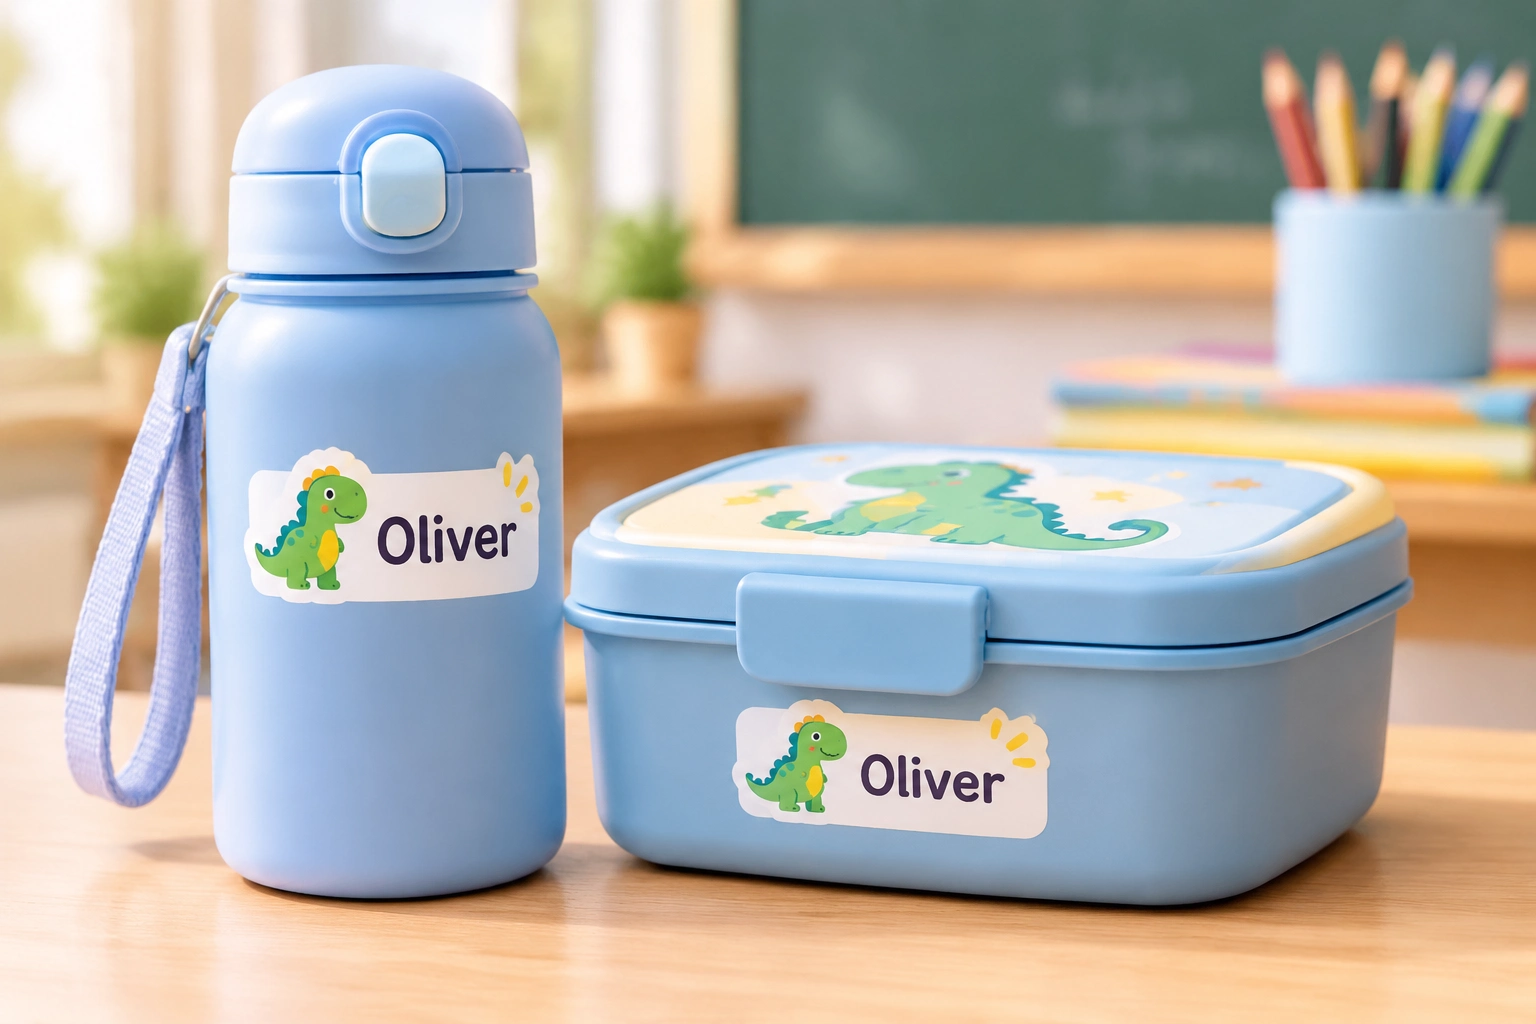
Water bottles and lunch boxes are top priorities. Children frequently leave these on shared tables or toss them into communal storage bins. Backpacks, pencil pouches, exercise books and paper folders also deserve labels — this is extra important when many classmates own near‑identical supplies.
Don't Forget Smaller School Supplies
For younger kids, do not overlook smaller odds‑and‑ends: snack containers, art kits, and spare‑clothes drawstring bags. These small items get jumbled together easily during busy school days.
Jot down a quick checklist ahead of time. This stops you from printing excessive quantities of school labels, and prevents you from using one‑size‑fits‑all stickers for items that actually need different label dimensions.
2. Keep Label Designs Simple and Easy to Spot
Choose Clear Names and Familiar Icons
Great school labels do not call for loads of busy decorations. Truth be told, cramming too many elements onto a tiny sticker makes the text hard to read at a glance.
Lead off with your child’s given first name. If another classmate shares that same first name, add the initial of their last name for differentiation. Pick one small fun graphic to give it personal flair — for instance a dinosaur, blossom, star, or their favourite animal.
Use Colours to Help Kids Recognise Their Belongings
Colour choices also work really well. If your kid loves blue, carry that blue tone across all their school labels. You can even reuse the same little icon for both their water bottle and lunch box. This way kids can spot their own stuff from the graphic alone, before they even read out the printed name.
Bear these practical points in mind
- Pick a typeface that stays readable even when shrunk down to small label sizes
- Make the name stand out more than graphics and decorations
- Stick to one or two main colours; skip over‑crowded multi‑colour patterns
- Leave blank breathing space around text so it does not feel cramped
Your main aim is creating easy‑to‑spot school labels, not squeezing every fun design idea onto one small sticker.
3. Print Custom Name Stickers At‑Home
Printable Templates or a Label Maker?
Once you settle on your preferred look, you can create custom name stickers either with downloadable print‑ready templates, or a portable label maker.
Print‑at‑home templates fit the bill if you only require a small handful of school labels and you own a suitable household printer. If you plan to make many stickers in varying sizes, or want matching looks for dozens of kid’s items, a label maker will save you lots of hassle.
Take the NIIMBOT D110 for example. Pair it with the official NIIMBOT App, you can type out names, swap around fonts, and pull from built‑in icons and pre‑set templates for all sorts of kid school supplies. It works wonderfully if you hope to keep a unified visual style for water bottles, lunch boxes and pencil pouches, without rebuilding every single label design completely from scratch.
Quick practical tip: Always double‑check name spelling and preview your work prior to printing a whole batch. Text displays differently on phone screens compared to compact physical stickers. Print one test sample first to avoid wasting an entire roll of label material.
4. Match Label Material to Different Supplies
Choose Labels Based on the Item's Surface and Use
Different school‑related items call for different school labels. A sticker that sticks perfectly onto a paper notebook might perform poorly on a water bottle that gets splashed and wiped every single day.
Think through where the sticker will attach, plus how that item gets used day‑to‑day.
- Water bottles: Go for water‑resistant label stock. Stick to flat side sections; highly curved bottle surfaces make adhesion trickier. Follow the material’s care notes.
- Lunch boxes: Put school labels on visible areas when the lunch box stays closed. Avoid lid edges and spots that get rubbed whenever you open or shut the container.
- Notebooks & folders: Compact‑sized labels usually suffice. You can also add subject names if you want to organise multiple exercise books.
- Pencil cases / supply boxes: Seek out flat surfaces. Steer clear of corners and seam lines where stickers will bend and lift.
Label material counts just as much as sticker dimensions. NIIMBOT carries multiple label variants built to stand up against water, oil, tearing and surface scratches. Always check material specifications before applying school labels onto heavily‑used kid gear.
5. Apply Labels Properly and Do Follow‑Up Checks
Prepare the Surface Before Applying Labels
A brand‑new printed school label may look flawless, yet it will start peeling off if you skip surface prep work.
Before you stick any label down, wipe off dust, grease and moisture from the target spot. Let the surface dry fully, then press the sticker firmly, paying extra attention to all four edges. Try not to place labels in spots constantly rubbed by zippers, little hands or other objects.
Check and Replace Labels When Needed
Set a small reminder to check stickers a few days after your kid heads back to school. If you spot peeling or fading text, swap it out before the label falls off completely.
Hang onto leftover school labels! Throughout the school year, children get fresh notebooks, replace leaky water bottles and bring home brand‑new supplies. Having matching spare stickers ready makes updating their gear straightforward. Using the NIIMBOT D110, you can churn out extra copies using your finished design instead of starting the whole design workflow again.
Frequently Asked Questions
What info belongs on kid’s school labels?
For most kid school supplies, just your child’s first name works well enough. If you need better distinction, add a last‑name initial or a tiny icon. Never print home addresses or phone numbers on items others can easily view.
Can custom name stickers go onto water bottles?
Absolutely, though you must pick label material built for regular water exposure. Not all adhesive stickers hold up against repeated splashes and washing. Read through material care guidance before sticking them on bottles you wash often.
How can younger kids recognise their own school labels?
Keep designs uncomplicated. Pair a clear printed name with familiar graphics like stars, dinosaurs or flowers. Repeating the same colour or icon across several belongings helps small children recognise their own items quickly.